Setting up Connections

Connections tell DataForge how to reach external data systems. In this tutorial you'll review the pre-built source connection and create a new output connection.
Step 1: Review the Sample Datasets connection
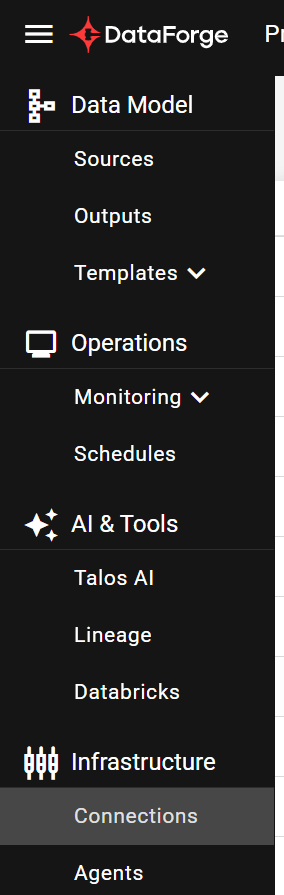
Navigate to Connections from the main menu.
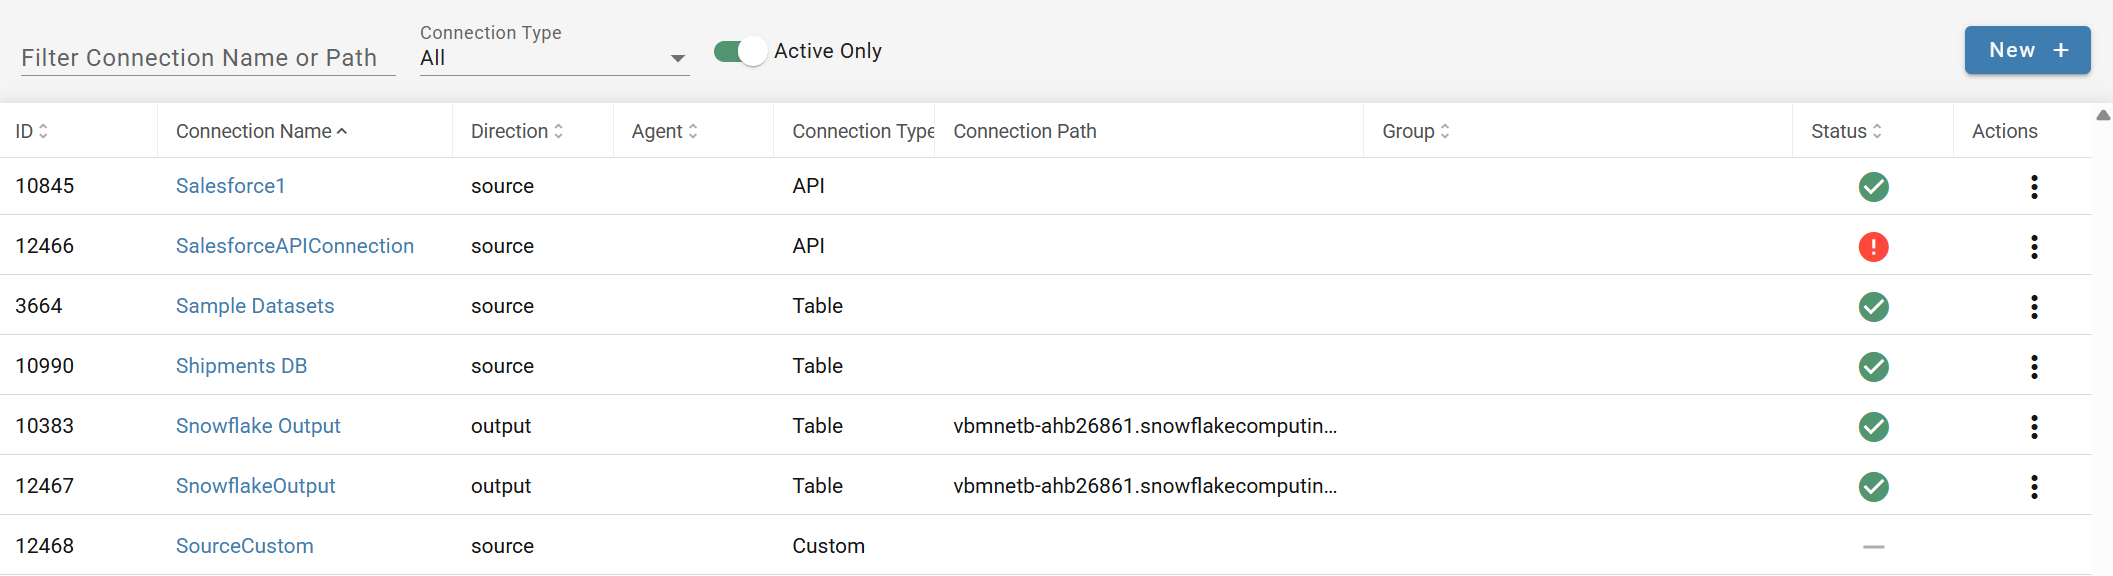
A connection named Sample Datasets already exists — it was created during workspace provisioning. Open it to review its settings.
Key connection settings:
| Setting | Purpose |
|---|---|
| Connection Direction | Source (ingest) or Output (publish) |
| Connection Type | Table, File, Custom Notebook, or API connector |
| Uses Agent | Whether the connection routes through a DataForge agent |
| Driver | Built-in driver to use (Delta Lake, Snowflake, SQL Server, etc.) |
| Metadata Refresh | What metadata to collect (tables, columns, keys) |
| Metadata Schema Pattern | LIKE-style filter to limit metadata collection |
Click Save to trigger a connection test.
Step 2: Test the connection
After saving, DataForge runs a connection test to validate credentials and collect metadata. An In Progress icon appears in the Status column.

When complete, a green checkmark confirms success (or a red exclamation indicates failure).
Step 3: Create an output connection
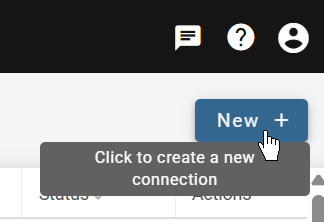
Click New + to create a new connection with the following settings for your platform:
Databricks
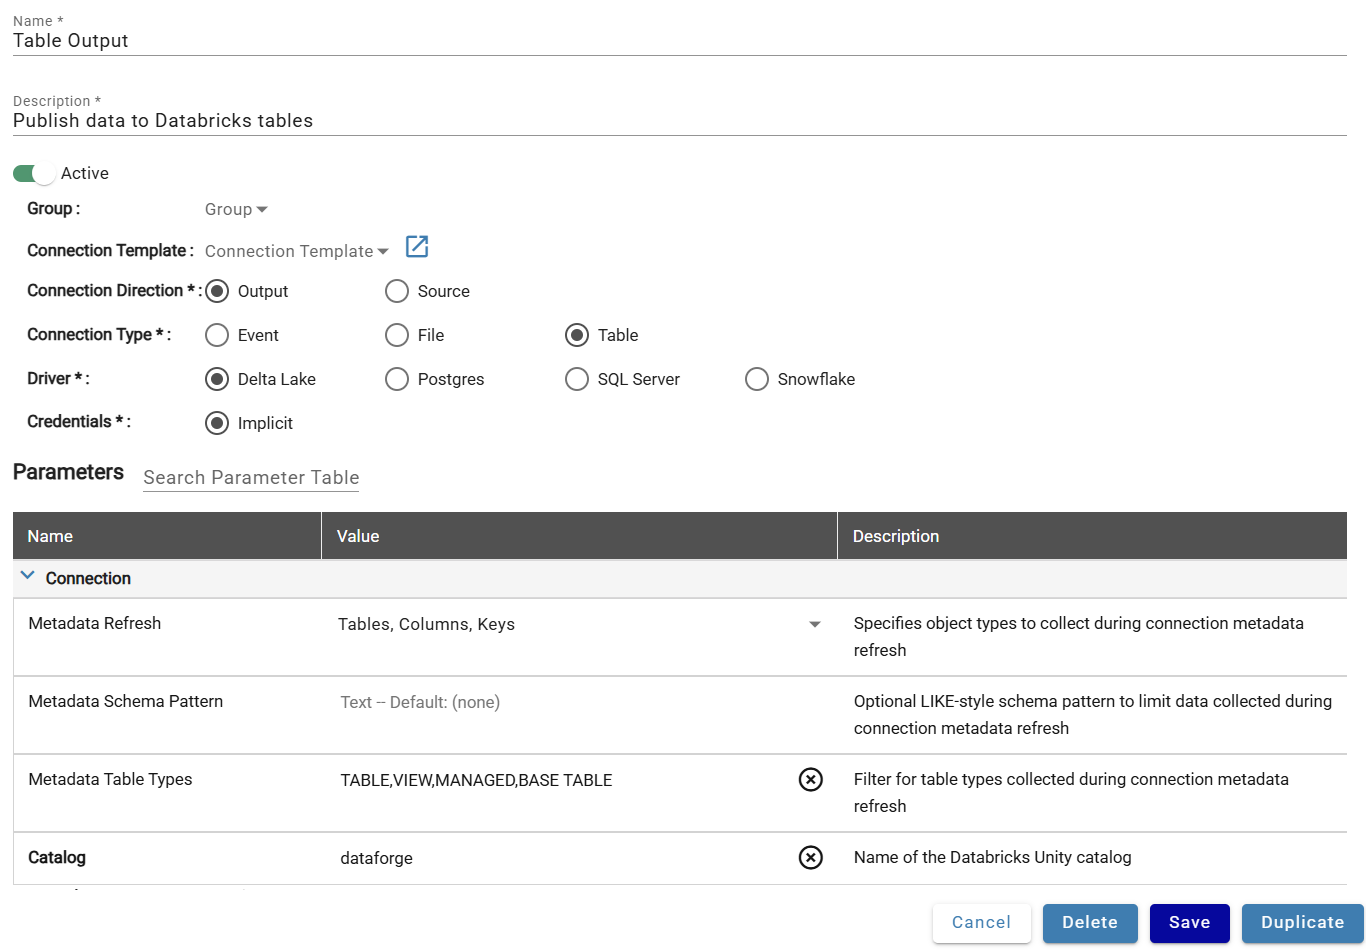
- Name: Table Output
- Description: Output data to tables
- Connection Direction: Output
- Connection Type: Table
- Driver: Delta Lake
- Credentials: Implicit
- Connection Parameters > Catalog: dataforge (or your custom catalog — check System > datalake-db-name to confirm)
No credentials needed — DataForge already has access to Databricks.
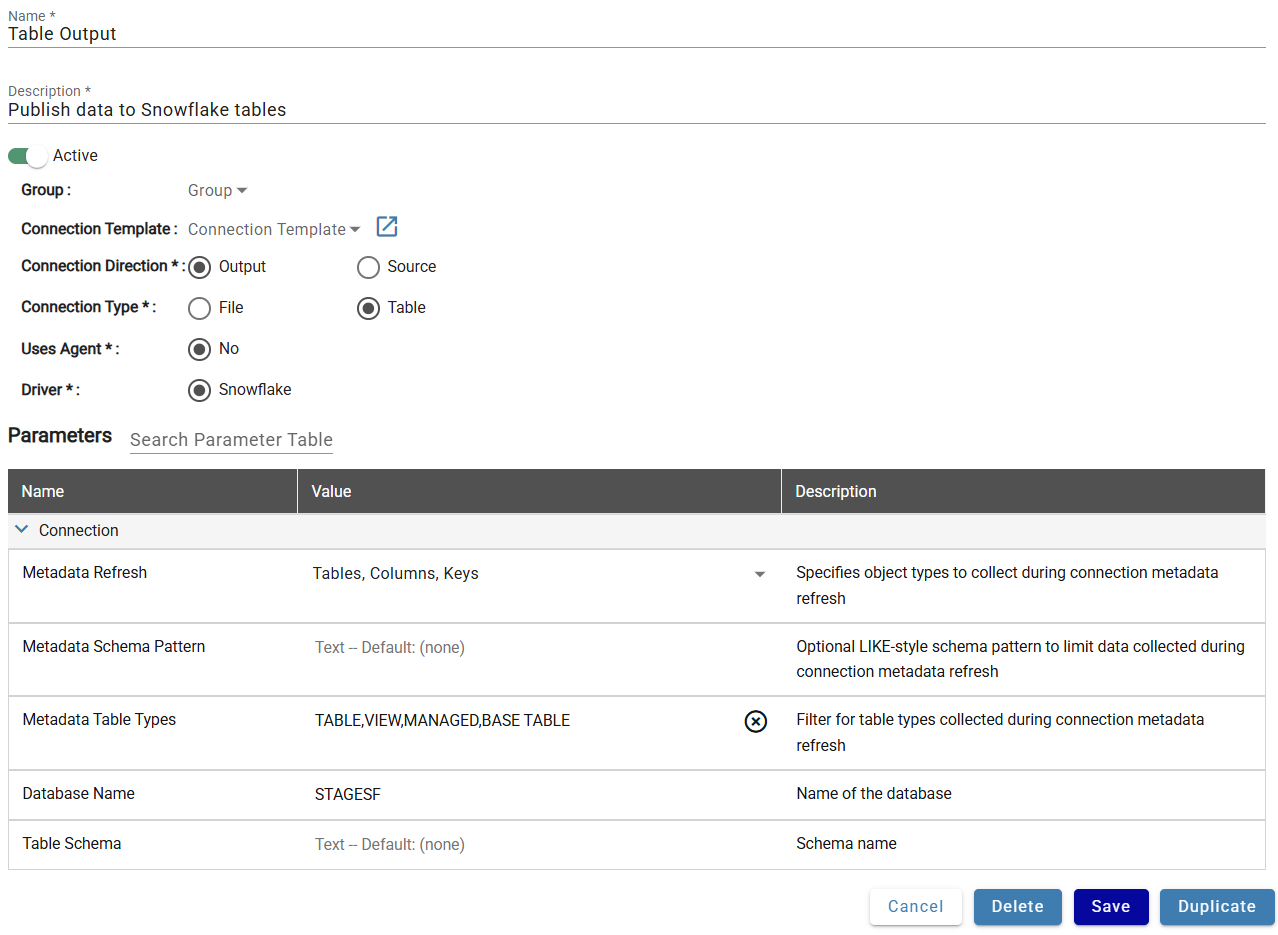
Snowflake
- Name: Table Output
- Description: Publish data to Snowflake tables
- Connection Direction: Output
- Connection Type: Table
- Driver: Snowflake
- Credentials: Implicit
- Connection Parameters > Database Name: DATAFORGE (or your custom database — check System > datalake-db-name to confirm)
The schema is defined later in output settings. No credentials needed — implicit credentials are pre-configured.
Click Save to finish, then continue to Creating Sources.