Setting up Databricks Compute to run Custom Notebooks
Before creating Custom Notebooks for DataForge, set up the Databricks environment by creating a compute and attaching the required libraries.
Creating Compute
DataForge recommends an all-purpose compute for Custom Notebook development to avoid impacting other running jobs. Navigate to the Databricks UI for your workspace.
- In Databricks, click the Compute tab of the left-hand menu. This will open the All-Purpose Compute page where you are able to configure specific compute instance details. For the purpose of running a basic Custom Process, you can create a simplified compute, but more details on the options available can be found here. Click Create Compute

Click the Create Compute Button to begin
-
The compute can be configured similar to the image below.
-
The compute can be named anything. "DataForge SDK" will be used for this example.
- Switching the compute mode to "Single Node" will save money, but limits the amount of data that the compute can process. Consider switching to a Multi-node Compute if data volumes are large.
- Set Databricks runtime to the appropriate version based on the DataForge version your workspace is running. See Release Notes and Version Support for the correct Databricks runtime for each DataForge version. Select the help (?) icon in the top-right of your DataForge workspace to find the correct version.
- The "Terminate after" setting can be turned down to the minimum allowed minutes to save money. During development, we typically recommend leaving this at at least 15 minutes.
- The default node type is fine to use in most cases. However, DataForge recommends using fleets when possible for lowest cost, best availability instances. Consider adjusting based on the data that will be processed.
- Instance Profile - Users will need to set the Instance Profile. There should only be one option in the standard DataForge deployment.

An example compute configuration
- Click Create at the bottom of the page.
- From the Compute Page, open the Libraries tab, and click Install new.
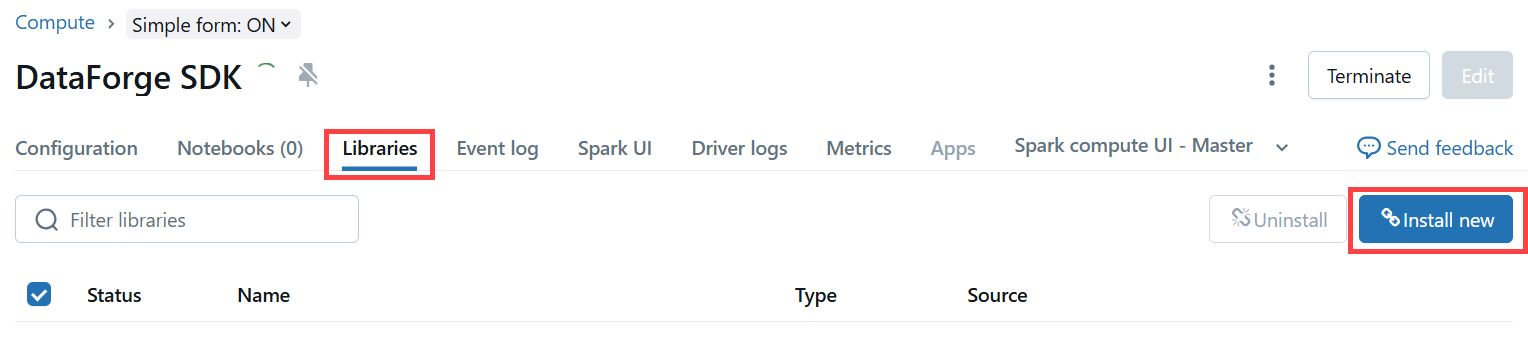
The Libraries tab with the Install New button
-
Use one of the library locations below, depending on whether you use Python or Scala. You need to make sure to get the version number of your DataForge Workspace. Select the help (?) icon in the top-right of your workspace to find the version number.
-
Scala > Maven (com.dataforgelabs:dataforge-sdk:
) - Python > PyPI (dataforge-sdk==
)
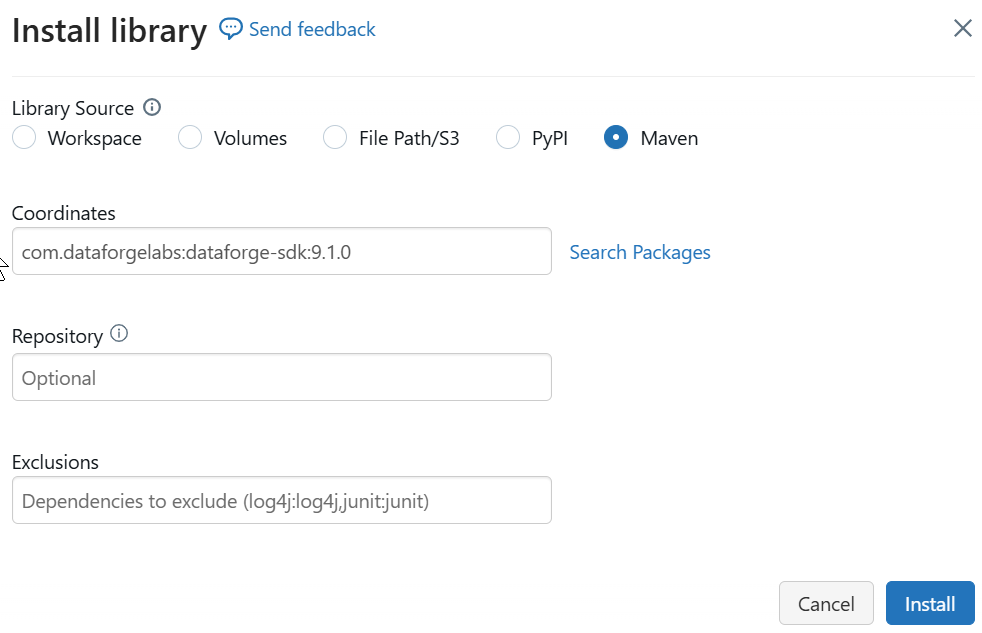
Example library installation
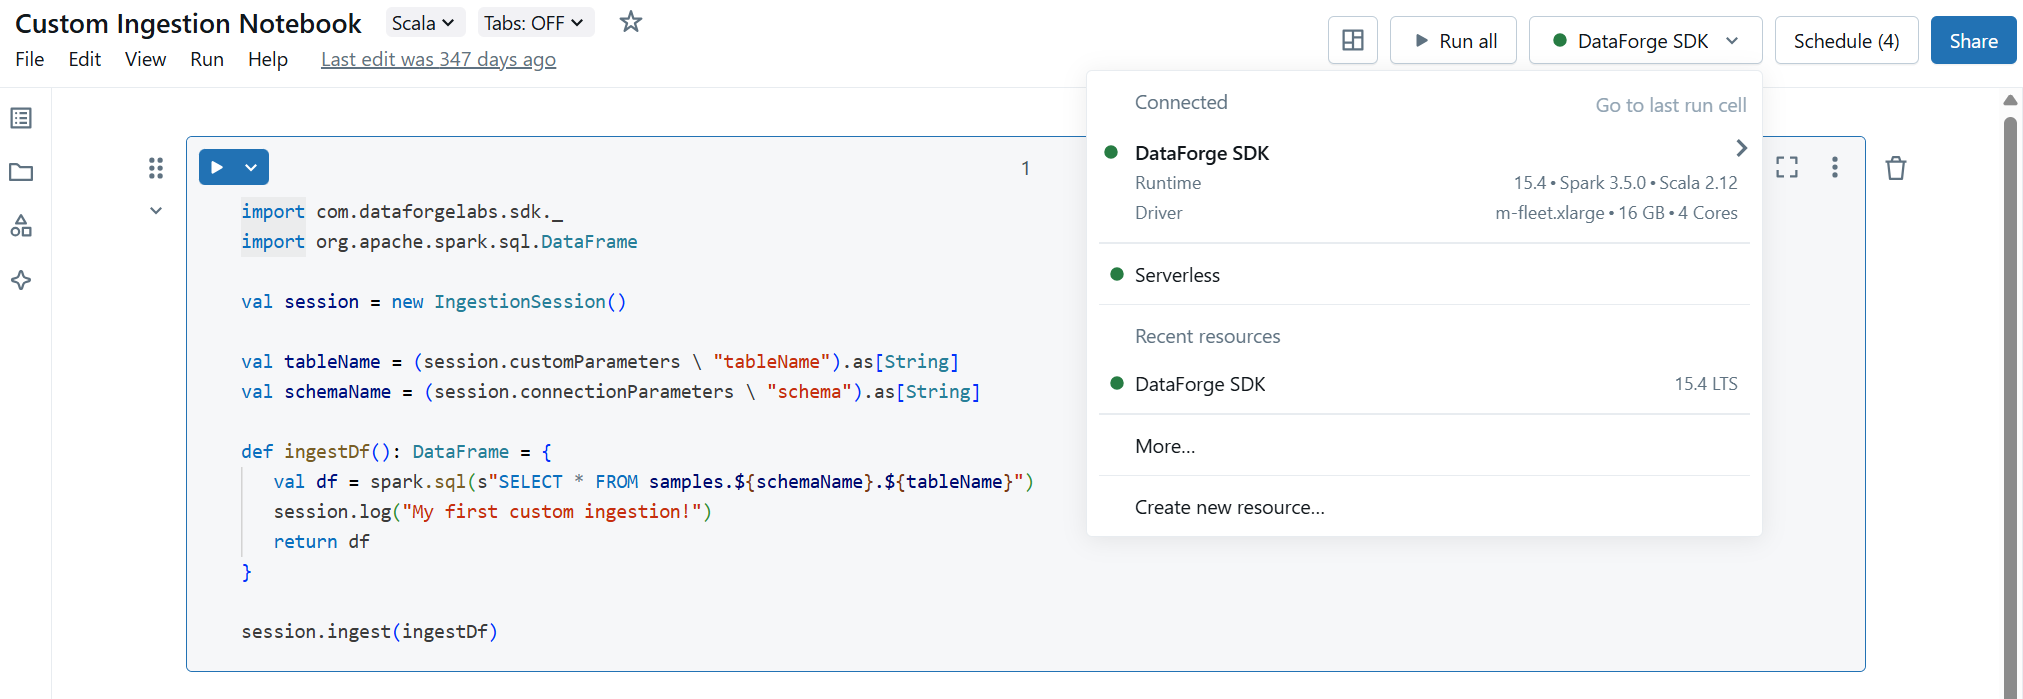
- The Compute is now ready to use and can be attached to a Notebook to run DataForge processes, triggered directly from Databricks during development. Open or create a new notebook and use the drop-down in the top-right to select the all-purpose compute.