Performing the Initial Deployment in Azure
Creating App Registration for Terraform
In Azure Active Directory, go to App registrations and create a new registration (e.g., Master-Terraform).
Set supported account types to Accounts in this organizational directory only.
In the App Registration's API permissions, add a permission from Microsoft Graph → Application permissions for:
- Application.ReadWrite.All
- Directory.ReadWrite.All
Grant consent if prompted.
Under Roles and administrators, confirm the App Registration has the Cloud application administrator role; add it if missing.
Note the Application (client) ID and generate a client secret — use the secret value (not the ID) when populating Terraform variables.
Grant the App Registration Owner access on the target subscription so it can create and manage resource groups.
Fork Infrastructure Repository in GitHub
Work with the DataForge team to add a service GitHub account, then fork the main Infrastructure repository into it.
Setting up Terraform Cloud Workspace
Fork the Infrastructure repository and create a VCS connection in Terraform Cloud
Create a new Terraform Cloud workspace using Version control workflow and select the forked infrastructure repository.
Set the working directory to terraform/azure. The VCS branch can be left as default (master).
Make sure the Terraform version in the workspace is set to 1.3.0
Setting up Auth0 Management Application
Navigate to the Auth0 account and open the Auth0 Management API.
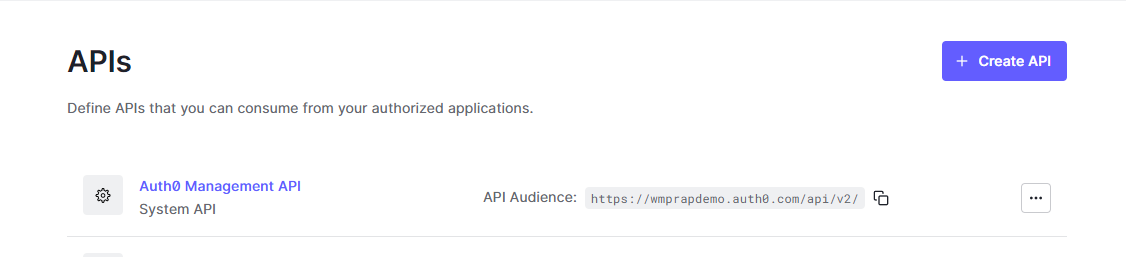
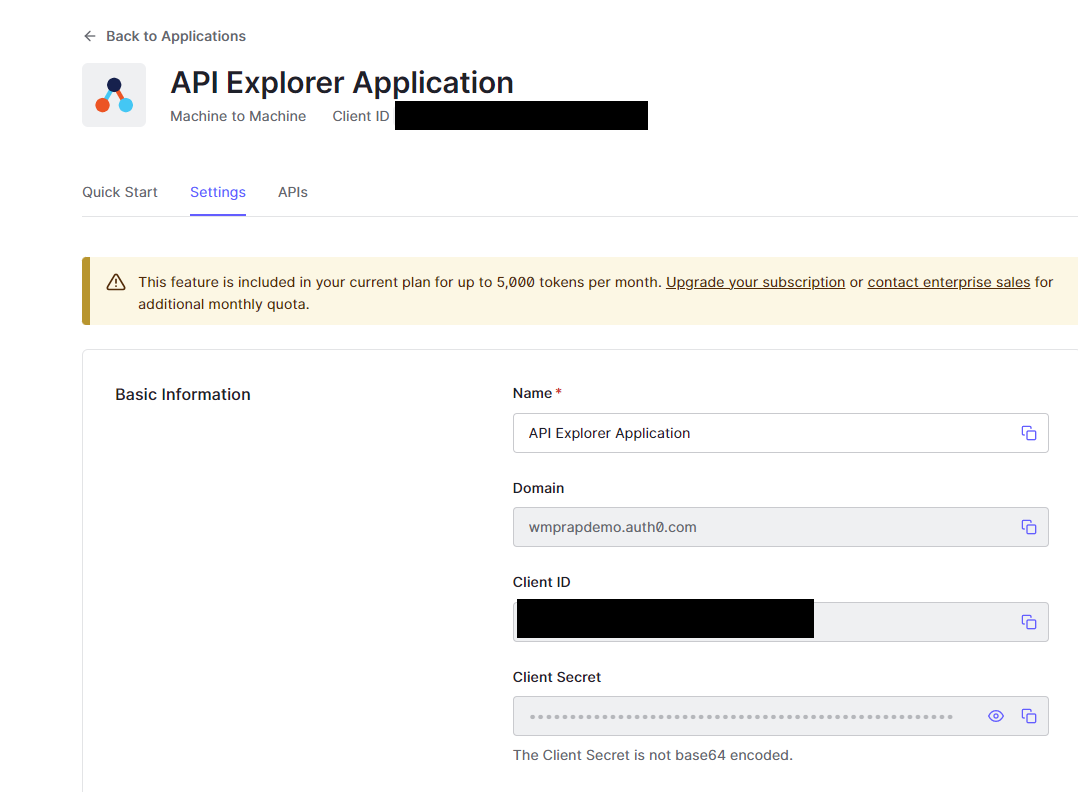
Click API Explorer and Create and Authorize API Explorer Application. Then go to Applications → API Explorer Application and use the domain, Client Id, and Client Secret to populate auth0Domain, auth0ClientId, and auth0ClientSecret in Terraform variables.
Populating Variables in Terraform Cloud
Enter the following variables.
For passwords, use a strong alphanumeric random generator (e.g., https://delinea.com/resources/password-generator-it-tool); avoid symbols.
The variable names are case sensitive - please enter them as they appear in this list
| variable | example | description |
|---|---|---|
| vpcCidrBlock | 10.0 | Enter the first two digits for the VPC’s /16 CIDR block. Example: 10.1 Please avoid using any Address ranges listed in the Azure Restrictions section here. |
| dockerUsername | dataforge | Docker username for account that will have access to Dockerhub |
| dockerPassword | Password for above account | |
| RDSmasterpassword | Administrative Password for the RDS Postgres Database. Use any printable ASCII character except /, double quotes, or @. | |
| auth0ClientId | 384u3kddxj112j3 | Client Id of Auth0 account’s Management API application |
| environment | AzureDev | The environment to be deployed. This is prepended to all resource names Ex: Dev |
| auth0ClientSecret | s09df098ds0f8s0d8f0sd98f0s | Client secret of Auth0 account’s Management API application |
| auth0Domain | dataforgedemo.auth0.com | Domain of the Auth0 account |
| client | orgname | Client name. This is postpended to all resource names. Ex: DataForge |
| clientSecret | c6fxxxxxbf1-axxa-43d1-axx8-c50669xxxxef | Azure client secret from user/app authenticating deploy |
| clientId | c6fxxxxxbf1-axxa-43d1-axx8-c50669xxxxef | Azure client ID from user/app authenticating deploy |
| dnsZone | azure.dataforgedemo.com | Base URL for the wildcard cert |
| region | East US | Azure region to deploy the environment to |
| tenantId | c6fxxxxxbf1-axxa-43d1-axx8-c50669xxxxef | Azure tenant ID |
| subscriptionId | c6fxxxxxbf1-axxa-43d1-axx8-c50669xxxxef | Azure Subscription ID |
| cert | Contents of the SSL certificate - see instructions below | |
| certPassword | Password to PFX certificate file, only required this if working with password protected PFX | |
| manualUpgradeVersion | 6.2.0 | Deployment version for the platform |
| readOnlyUsername | readonly | Username for Postgres read only user |
| readOnlyPassword | xxxxx | Password for Postgres read only user |
| releaseUrl | https://release.wmprapdemo.com | URL used for auto-upgrade releases |
| deploymentToken | xxxxx | Token provided by DataForge Support to facilitate auto-upgrade feature |
| sparkVersion | 9.1.x-scala2.12 | Default Databricks spark runtime |
| instanceType | m5n.xlarge | Default Databricks cluster Instance type |
| miniSparkyAutoTermination | 120 | Auto termination for mini-sparky in minutes |
| usageAuth0Secret | xxxx | Auth0 secret for usage collection - provided by DataForge team during deployment |
| usagePassword | xxxxxxx | Alphanumeric password for usage user, should be autogenerated |
| vmUsername | dataforgeadmin | Username for admin account of Bastion connected VM |
| vmPassword | xxxxx | Password for admin account of Bastion connected VM |
| vmName | dataforge-vm | Custom VM name for private DataForge access. 16 character limit |
Optional variables for tuning ECS container sizes:
| Variable | Example | Description |
|---|---|---|
| apiCPU | 2 | CPU value for API ECS container (Cores) |
| apiMemory | 4 | Memory value for API ECS container (GB) |
| coreCPU | 2 | CPU value for Core ECS container (Cores) |
| coreMemory | 4 | Memory value for Core ECS container (GB) |
| agentCPU | 1 | CPU value for Agent ECS container (Cores) |
| agentMemory | 2 | Memory value for Agent ECS container (GB) |
If running a non-public facing deployment - these variables will need to be added:
| Variable | Example | Description |
|---|---|---|
| publicFacing | no | Triggers the infrastructure to deploy non-public facing resources |
SSL Certificate Contents
The "cert" variable will need the SSL certificate contents in Base 64 encoding, so it can be saved as a text variable. To do this, you will need to download the certificate in .pfx format. If the certificate isn't already in .pfx format, make sure that private key for the certificate is on hand so the certificate can be easily converted to pfx. Once the certificate is downloaded, run these two commands in Windows Powershell (change the values in the first line to point to the pfx file on your local system):
$fileContentBytes = get-content 'C:\
[System.Convert]::ToBase64String($fileContentBytes) | Out-File 'pfx-encoded-bytes.txt'
Then, open pfx-encoded-bytes.txt and save the contents of the file into the "cert" variable in Terraform. If the certificate is password protected, add the "certPassword" variable to Terraform and use the certificate password as the value.
Running Terraform Cloud
Click Queue plan. A correct configuration produces ~116 resources to add. If the plan succeeds, click Apply to start the deployment.
Post Terraform Steps
After Terraform completes, a resource group is created in Azure Portal. Additional configuration is required before data can be brought into the platform.
Configuring Databricks
In the Azure Portal resource group, open the Databricks resource and click Launch Workspace.
Navigate to the storage container <environment>storage<client> (e.g., devstorageintellio) and upload the following file to the <environment>-jars-<client> container (e.g., dev-jars-intellio):
https://s3.us-east-2.amazonaws.com/wmp.rap/datatypes.avro
Once uploaded, open the /dataforge-managed/databricks-init workbook, attach it to dataforge-init-cluster, and run it.
Running Deployment Container
Navigate to the container instance <environment>-Deployment-<client> (e.g., Dev-Deployment-Intellio). Open Containers → Logs and confirm the container completed with:
If this message is absent, stop and restart the container and troubleshoot from there.
Configuring Custom Endpoint
Open the Frontend Endpoint resource <environment>-FrontendEndpoint-<client> and click Custom domain. Enter the DNS name of the site (<environment>.<dnsZone> — dnsZone was set in Terraform variables). The hostname must be DNS-resolvable before it can be added.
Click the hostname to configure it further — it should match the image below.

Make sure the Azure CDN step is followed so that CDN can access the Key Vault where the secret lives.
Save the configuration and this step will be complete.
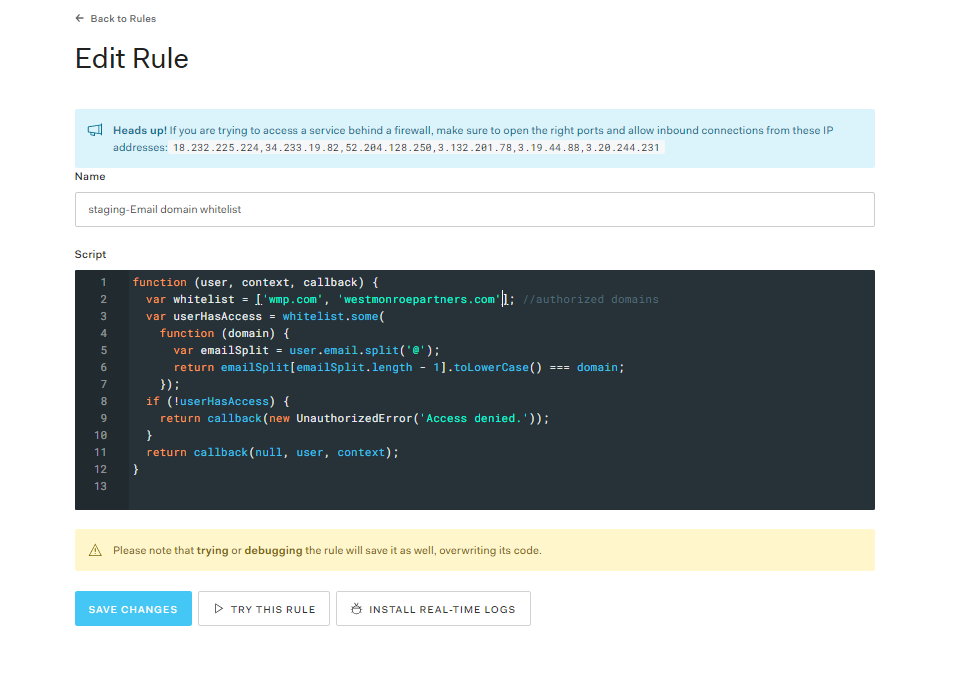
Auth0 Rule Updates
In the Auth0 Dashboard, edit the Email domain whitelist rule (under Rules) to add allowed sign-up domains. By default only DataForge emails are included.
Rebuilding VM if Microsoft VM is Broken (Private Azure Env)
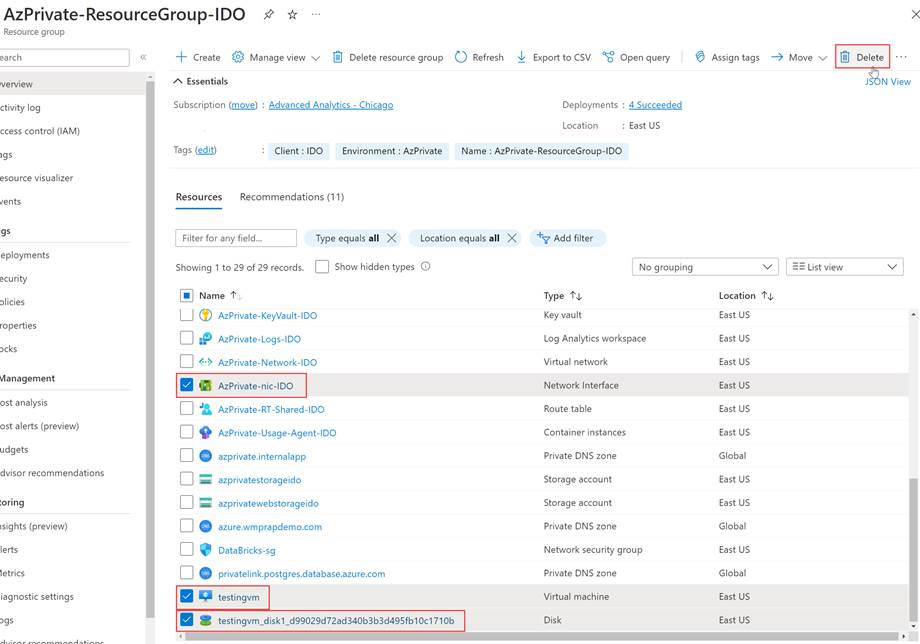
If Microsoft reports a broken VM (e.g., blue screen of death), it can be deleted and rebuilt by re-running Terraform. Submit a support request if unsure.
- Delete the VM from Azure portal. If it does not prompt you to delete the NIC and Disk at the same time, then find those two resources and delete them after (NIC = "
-nic- ", Disk = " vm_disk...")
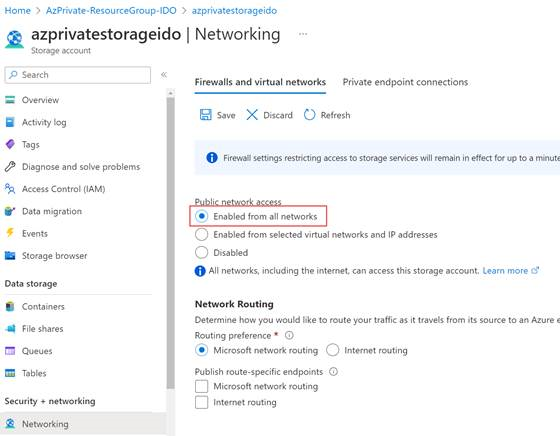
- Set storage account public network access to "Enabled from all networks". Resource Group ==>
storage ==> Networking ==> Public network access Set to Enabled from all networks ==> Save. Terraform reverts this setting back to what it was before after it's applied.
- Open Terraform and start a new run. If you get a message that there is an existing run, you will want to pick to discard the previous run and start your new one. Terraform will run through a merge and apply which will rebuild the VM in your Azure portal.
