Output Mapping
Output Mapping controls the way data is sent to its final destination. It allows a user to rename columns, append multiple Sources, and filter data.
Key Terms
- Columns: Define the final schema of the Output data, such as the target file headers or table column names and types.
- Channel: Union between a source and the output, that defines how attributes from the source flow into the output.
- Mapping: Expression that ties a channel to a column.
- Output Mapping: Collection of all mappings that collectively defines how the data moves from all channels into the output table.
Changes made to an output mapping will not take effect unless the user presses the Save button at the bottom right hand corner of the output mapping screen.
Adding a Channel
Click Add Source Mapping under the Mapping tab to link a source to this output. Multiple channels can be added to build a One Big Table model. When a new channel is added, DataForge will automap any fields that have a direct or relation path match to existing columns.

The Channel configuration modal opens. Use the Select Source dropdown to find and select the source to map.
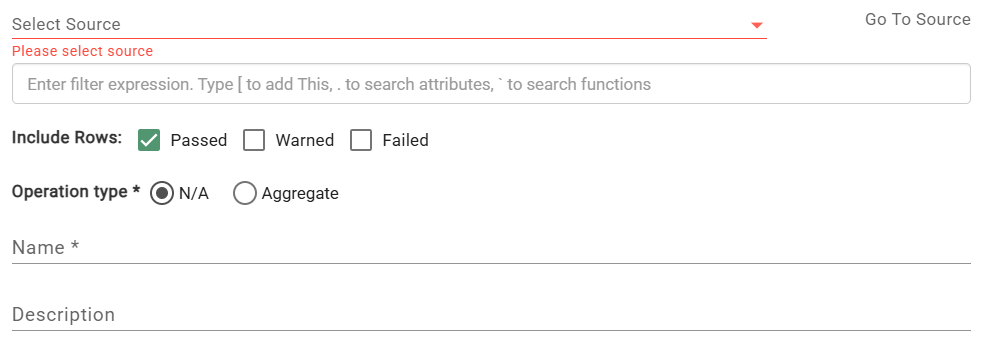
Settings:
- Filter Expression: Allows users to define a condition that will exclude rows of data from the output, for which the filter expression does not evaluate to true.
- Include Rows: Dictates whether rows from the source channel hub tables should be included based on Validation rule results. Options are Passed, Warned, and Failed.
- Operation Type: Allows the user to mark a channel as an aggregate. Default is "N/A". More information on aggregate channels can be found below.
- Name: The name of the Channel defaults to name of the source itself. The user may want to set their own name for the channel, for instance to help distinguish between two Channels that come from the same source.
- Description: Allows the user to briefly describe to other users the use case of the Channel.
- Active:Dictates whether the channel is active or inactive on the output. Only Active channels are processed.
Parameters:
- Custom Parameters:JSON formatted string with custom parameter key:value pairs. This field is only useful when applying a Custom Post-Output notebook.
- Full Output Flag: Default is false. Set to true to run a full output of all input data from the source every time the Output process runs.
- Key History: Default is false. Output key history for channels of Key sources - ignore for Time Series sources.
- Allow Output Regeneration: Default is true. If set to false, the output will not be generated if triggered by an output reset or validation reset
Channel Menu Controls
To open the Channel control menu, click on the triple-dot menu (⋮) at the far right of the Source/Mapping Name column of the output mapping.
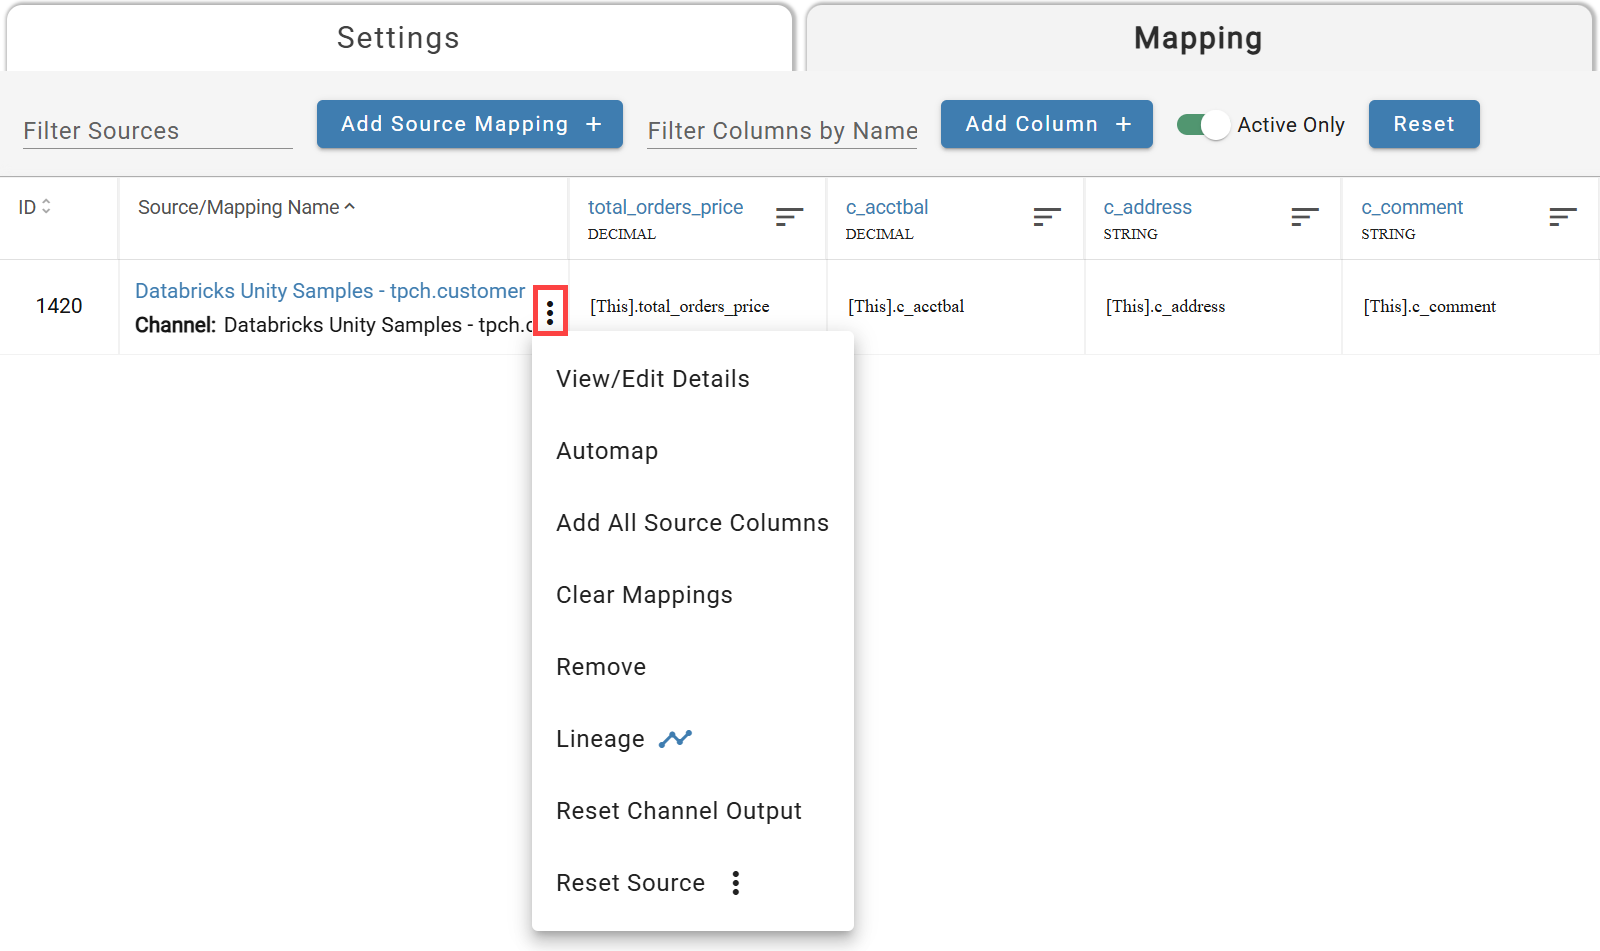
Channel Menu can be seen on the right
- View/Edit Details:Opens the configuration details modal of the selected channel.
- Automap:Maps attributes from the source of the selected channel to any columns that the user created that have column names that match an attribute name.
- Add All Source Columns:Adds a column for each attribute of the source from the selected channel, and maps the corresponding attribute to the column automatically. The newly created column names will be that of their corresponding attributes.
- Expand All Structs: Expands any struct column mappings to create new columns for every key in the struct schema for the next level down. Use recursively to expand multiple levels of structs.
- Clear Mappings:Clears all expressions currently mapped to columns from the source of the selected channel.
- Remove:Removes the channel in question from the output.
- Lineage:Opens a lineage graph of the channel source to view origin or destination lineage.
- Reset Channel Output: Resets Output for the selected channel for all source data (all input data).
- Reset Source:Provides source level reset options for easy processing. Note: These options reset all inputs on the source.
Note: It is best practice to manually add all Output Columns when configuring an enterprise grade system to adhere to destination naming convention and semantics.
Adding Columns

To add all source fields at once, use the channel menu and select Add All Source Columns — this creates one column per attribute (raw attributes and rules).

To add a single column, click Add Column. Column names must start with a letter and contain only letters, numbers, and underscores. Data type is inferred automatically if not set explicitly.
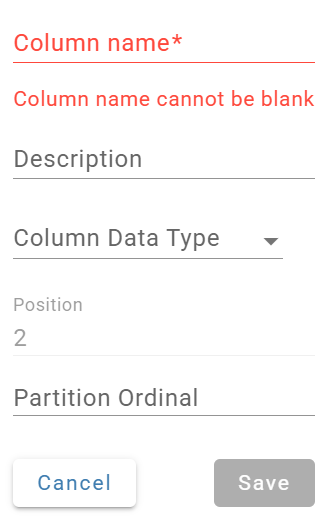
Column Data Types
The Column Data Types listed in this drop down are the target system's available data types
Column Menu Controls
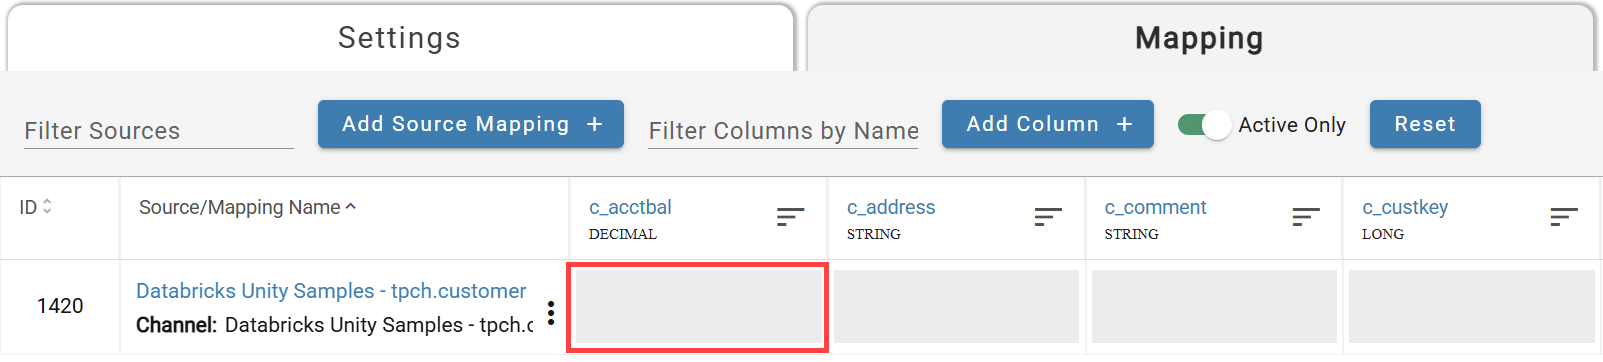
To open the column menu, click on the list icon button (circled in the image below) at the far right of each column header. None of these actions take effect unless the output mapping save button is pressed afterwards.
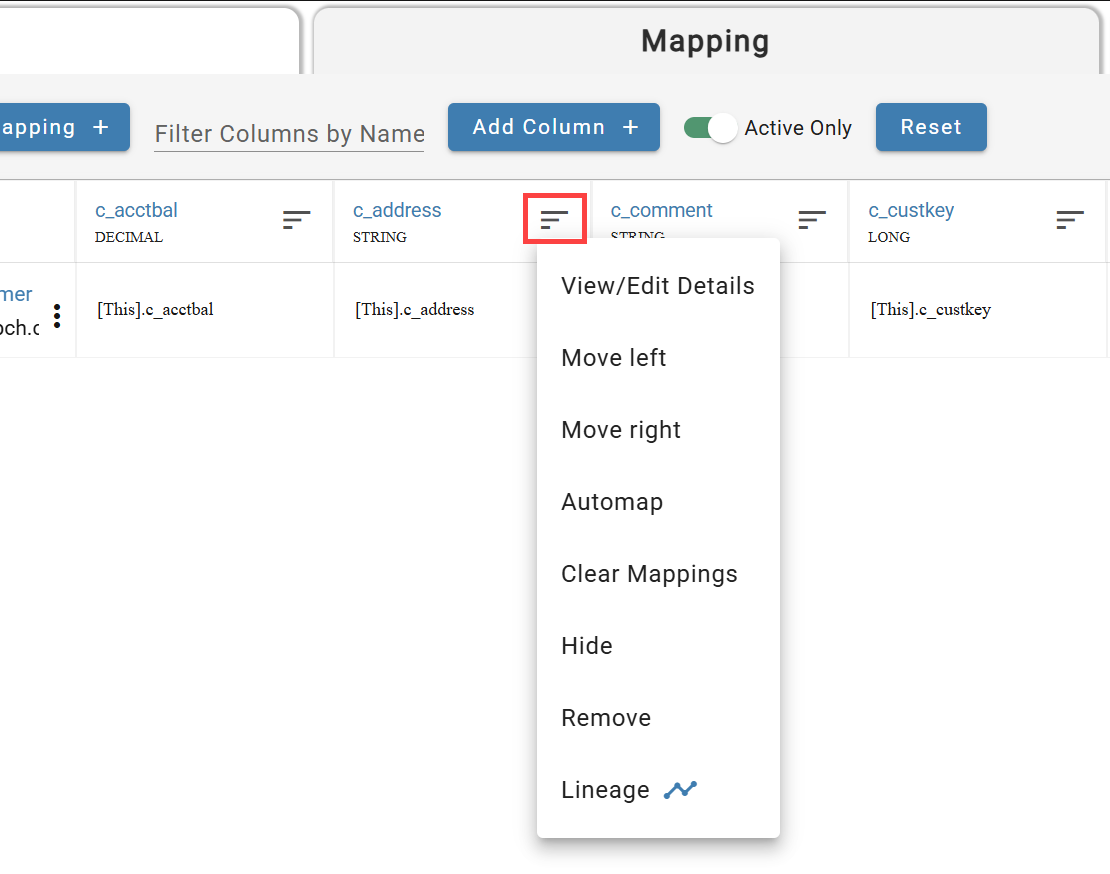
- View/Edit Details: Opens the column configuration modal of the selected column.
- Move Left: Shifts the column one place over to the left on the UI.
- Move Right: Shifts the column one place over to the right on the UI.
- Automap: Maps an expression to each channel in the output mapping that has a source attribute matching whose name matches the column name.
- Clear Mappings: Clears all expressions mapped to the column across all channels in the output mapping.
- Hide: Takes the column off the screen in the UI, without actually removing the column from the output.
- Remove: Removes column from the output mapping.
- Lineage: Opens a lineage graph of the output column to view origin lineage.
Mapping Expressions
Click the empty cell at the intersection of a channel row and a column to open the expression entry modal.
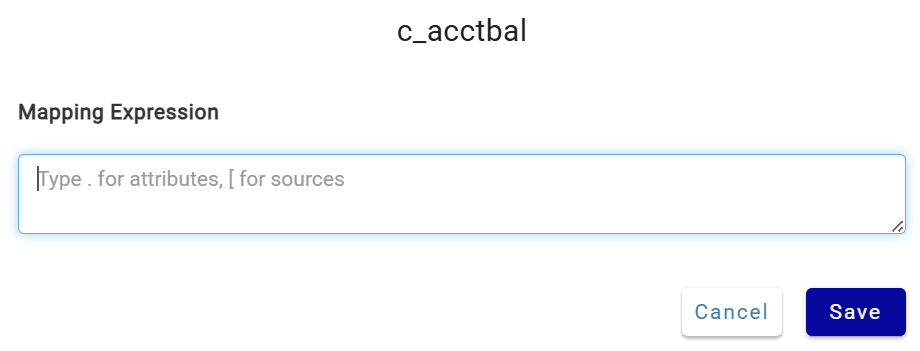
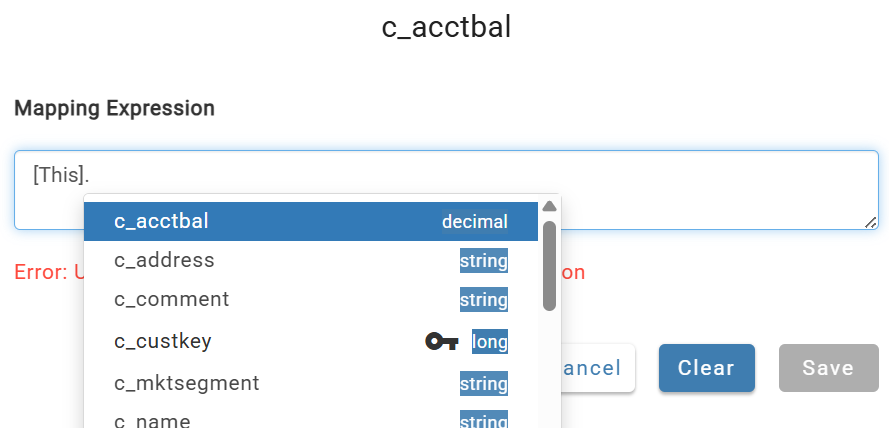
Type [ to open a drop-down of sources in the active relation chain (the current channel's source appears as [This]). Then type . to browse that source's attributes.

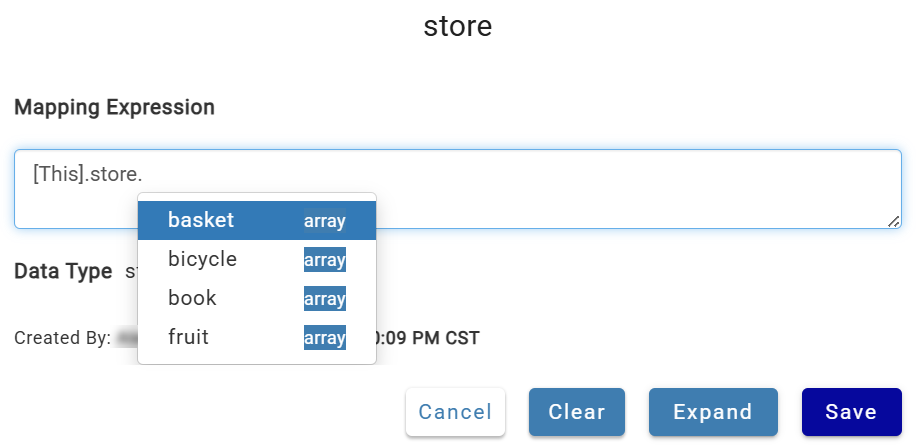
Struct column mappings support dot notation to target specific keys, and an Expand button to split the struct into individual columns.
Reset Processes For All Channels
Click the Reset button at the top of the mapping screen to recalculate or reset output for all channels simultaneously.

Aggregate Channels
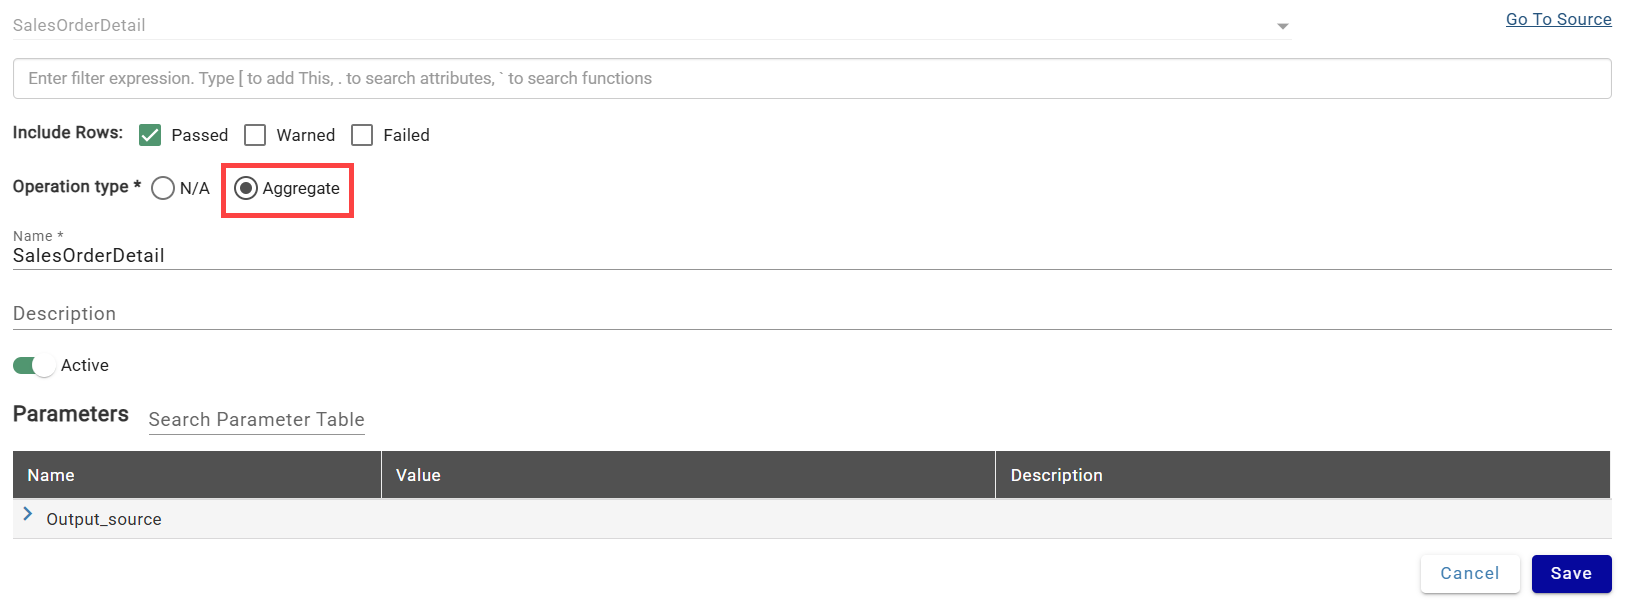
Aggregate channels output data at a higher grain. Set a channel as aggregate via Operation Type → Aggregate in the channel details modal.

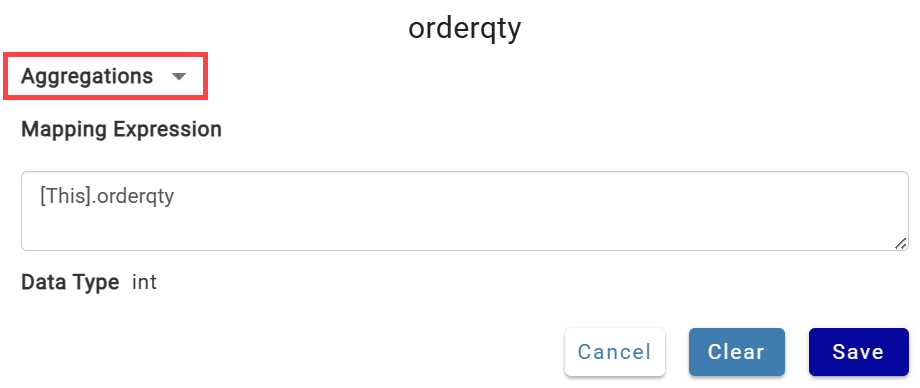
Each column is automatically classified based on its mapping expression:
- GROUPS: Fields without an aggregate function — equivalent to SQL GROUP BY columns.
- MEASURES: Fields with an aggregate function applied.
Aggregate function reference: Databricks | Snowflake
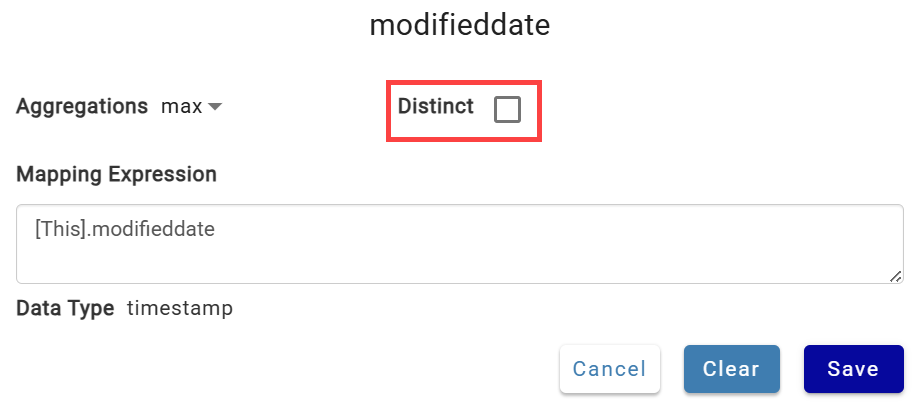
When an aggregate function is selected, you can optionally aggregate on distinct values only:
Aggregate Channel with Group Example
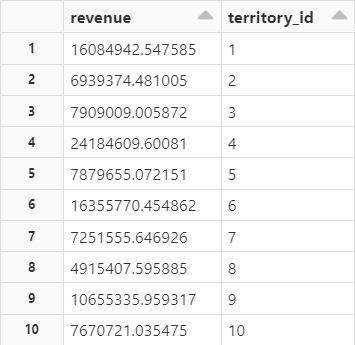
Goal: Sum of revenue grouped by territory_id from Sales Order Details.
Final Mapping:

Steps:
- Add the channel and create
revenueandterritory_idcolumns. - Open channel settings (triple-dot menu → View/Edit Details) and set Operation Type to Aggregate. Save.
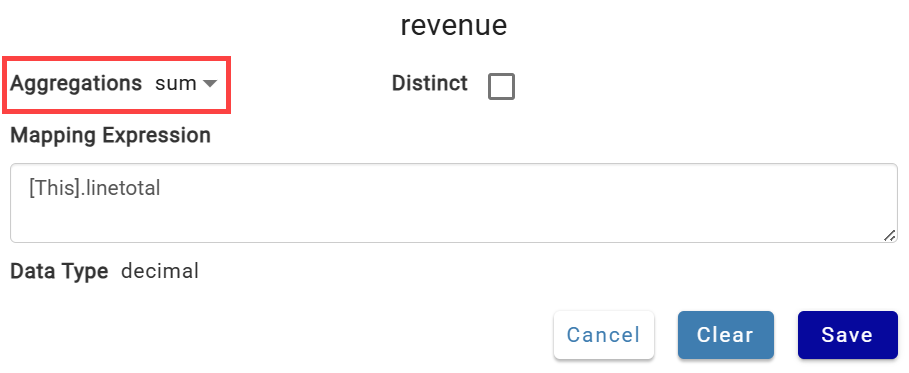
- Map
linetotalto therevenuecolumn and select sum as the aggregate function.
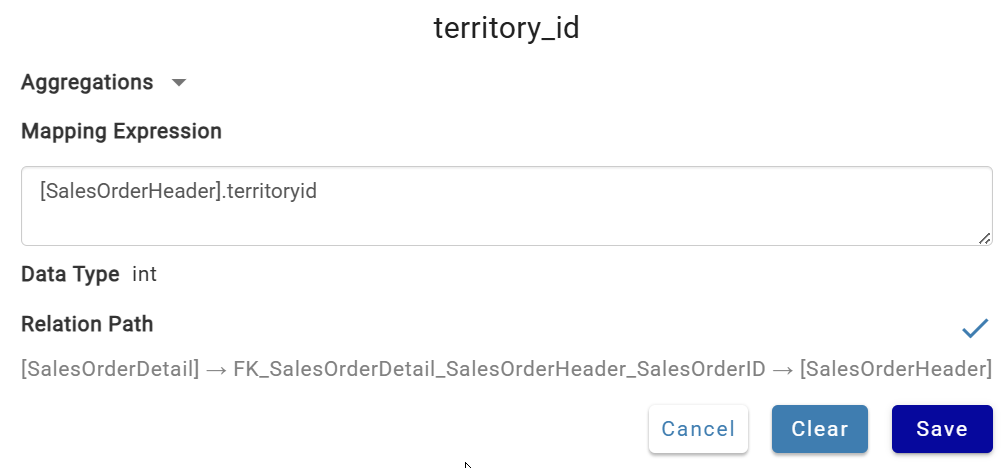
- Map
territoryidto theterritory_idcolumn and leave the aggregate function blank (marks it as a group).
Result: Sum of revenue grouped by territory_id.
A single channel can have multiple groups and multiple measures.