Managing Projects with Github
Managing Project configurations with GitHub allows users to efficiently merge changes from one project to another using pull requests and merging, providing a view of exact changes in the process.
GitHub Integration
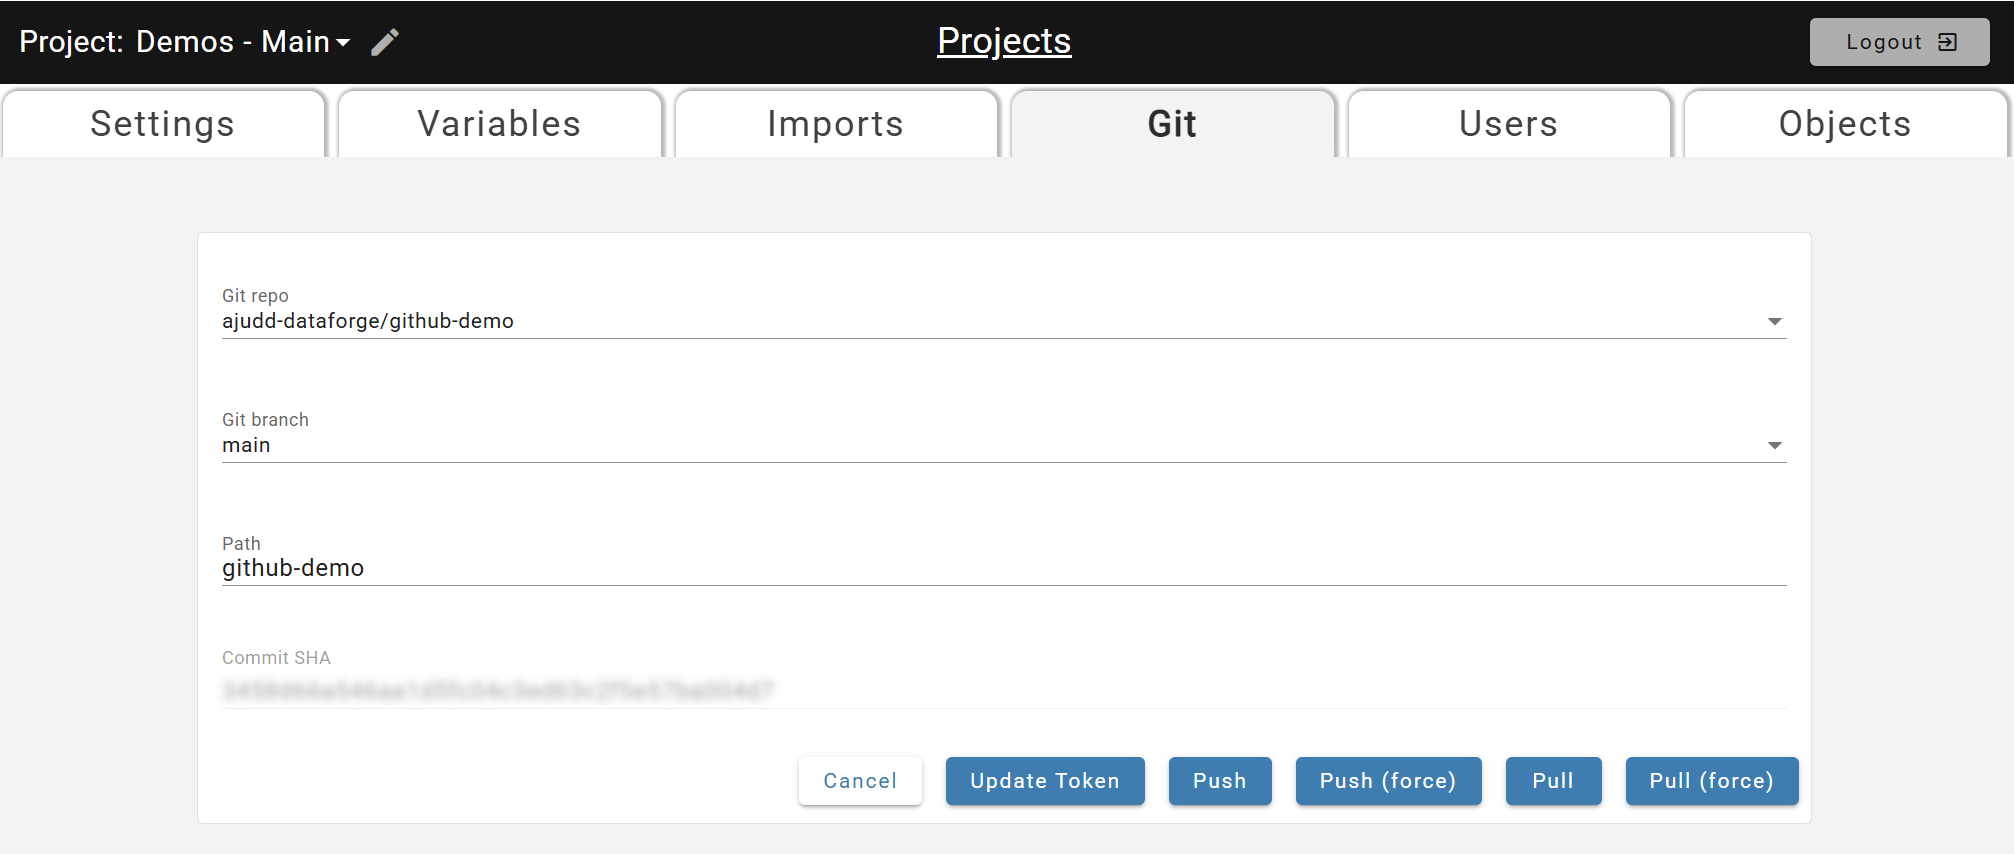
Open a project and navigate to the Git tab to start the integration setup. Each workspace is tied to a specific repository, but can be reset as needed.
Add or update a personal access token for credentials to GitHub.
Choose which Git repo, branch, and optional path you want the project to connect to.
Utilize features like push and pull to automatically send the latest changes to GitHub for further review and pull request/merging. Options exist for regular and force pushes and pulls. User information is passed in the commit message to GitHub for granular tracking back to the DataForge user.
Git Branching Strategies
Choose a Git branching strategy for your team. Projects are not tied to any specific GitHub object, so any workflow is viable. DataForge recommends Gitflow. Starter links:
- Overview of common workflows: https://www.bmc.com/blogs/devops-branching-strategies/
- Gitflow: https://www.atlassian.com/git/tutorials/comparing-workflows/gitflow-workflow
- Trunk-Based Development: https://www.atlassian.com/continuous-delivery/continuous-integration/trunk-based-development
- GitLab Flow: https://docs.gitlab.com/ee/topics/gitlab_flow.html
- GitHub Flow: https://docs.github.com/en/get-started/quickstart/github-flow
Familiarize yourself with GitHub basics: creating a repository, working with branches, creating pull requests, and handling merge conflicts.
Common GUI tools include GitKraken, GitHub Desktop, GitLens, and Sourcetree. This guide uses GitKraken.
Gitflow Branching with DataForge Projects explained
A change needs to be made to a production/live source in DataForge, but it should be developed and tested separately.
The example uses two DataForge environments (Dev and Prod), each with a Default project. The goal is a Gitflow process to develop changes separately and migrate them to production. We'll set up multiple projects in DataForge and multiple GitHub branches, as shown below.
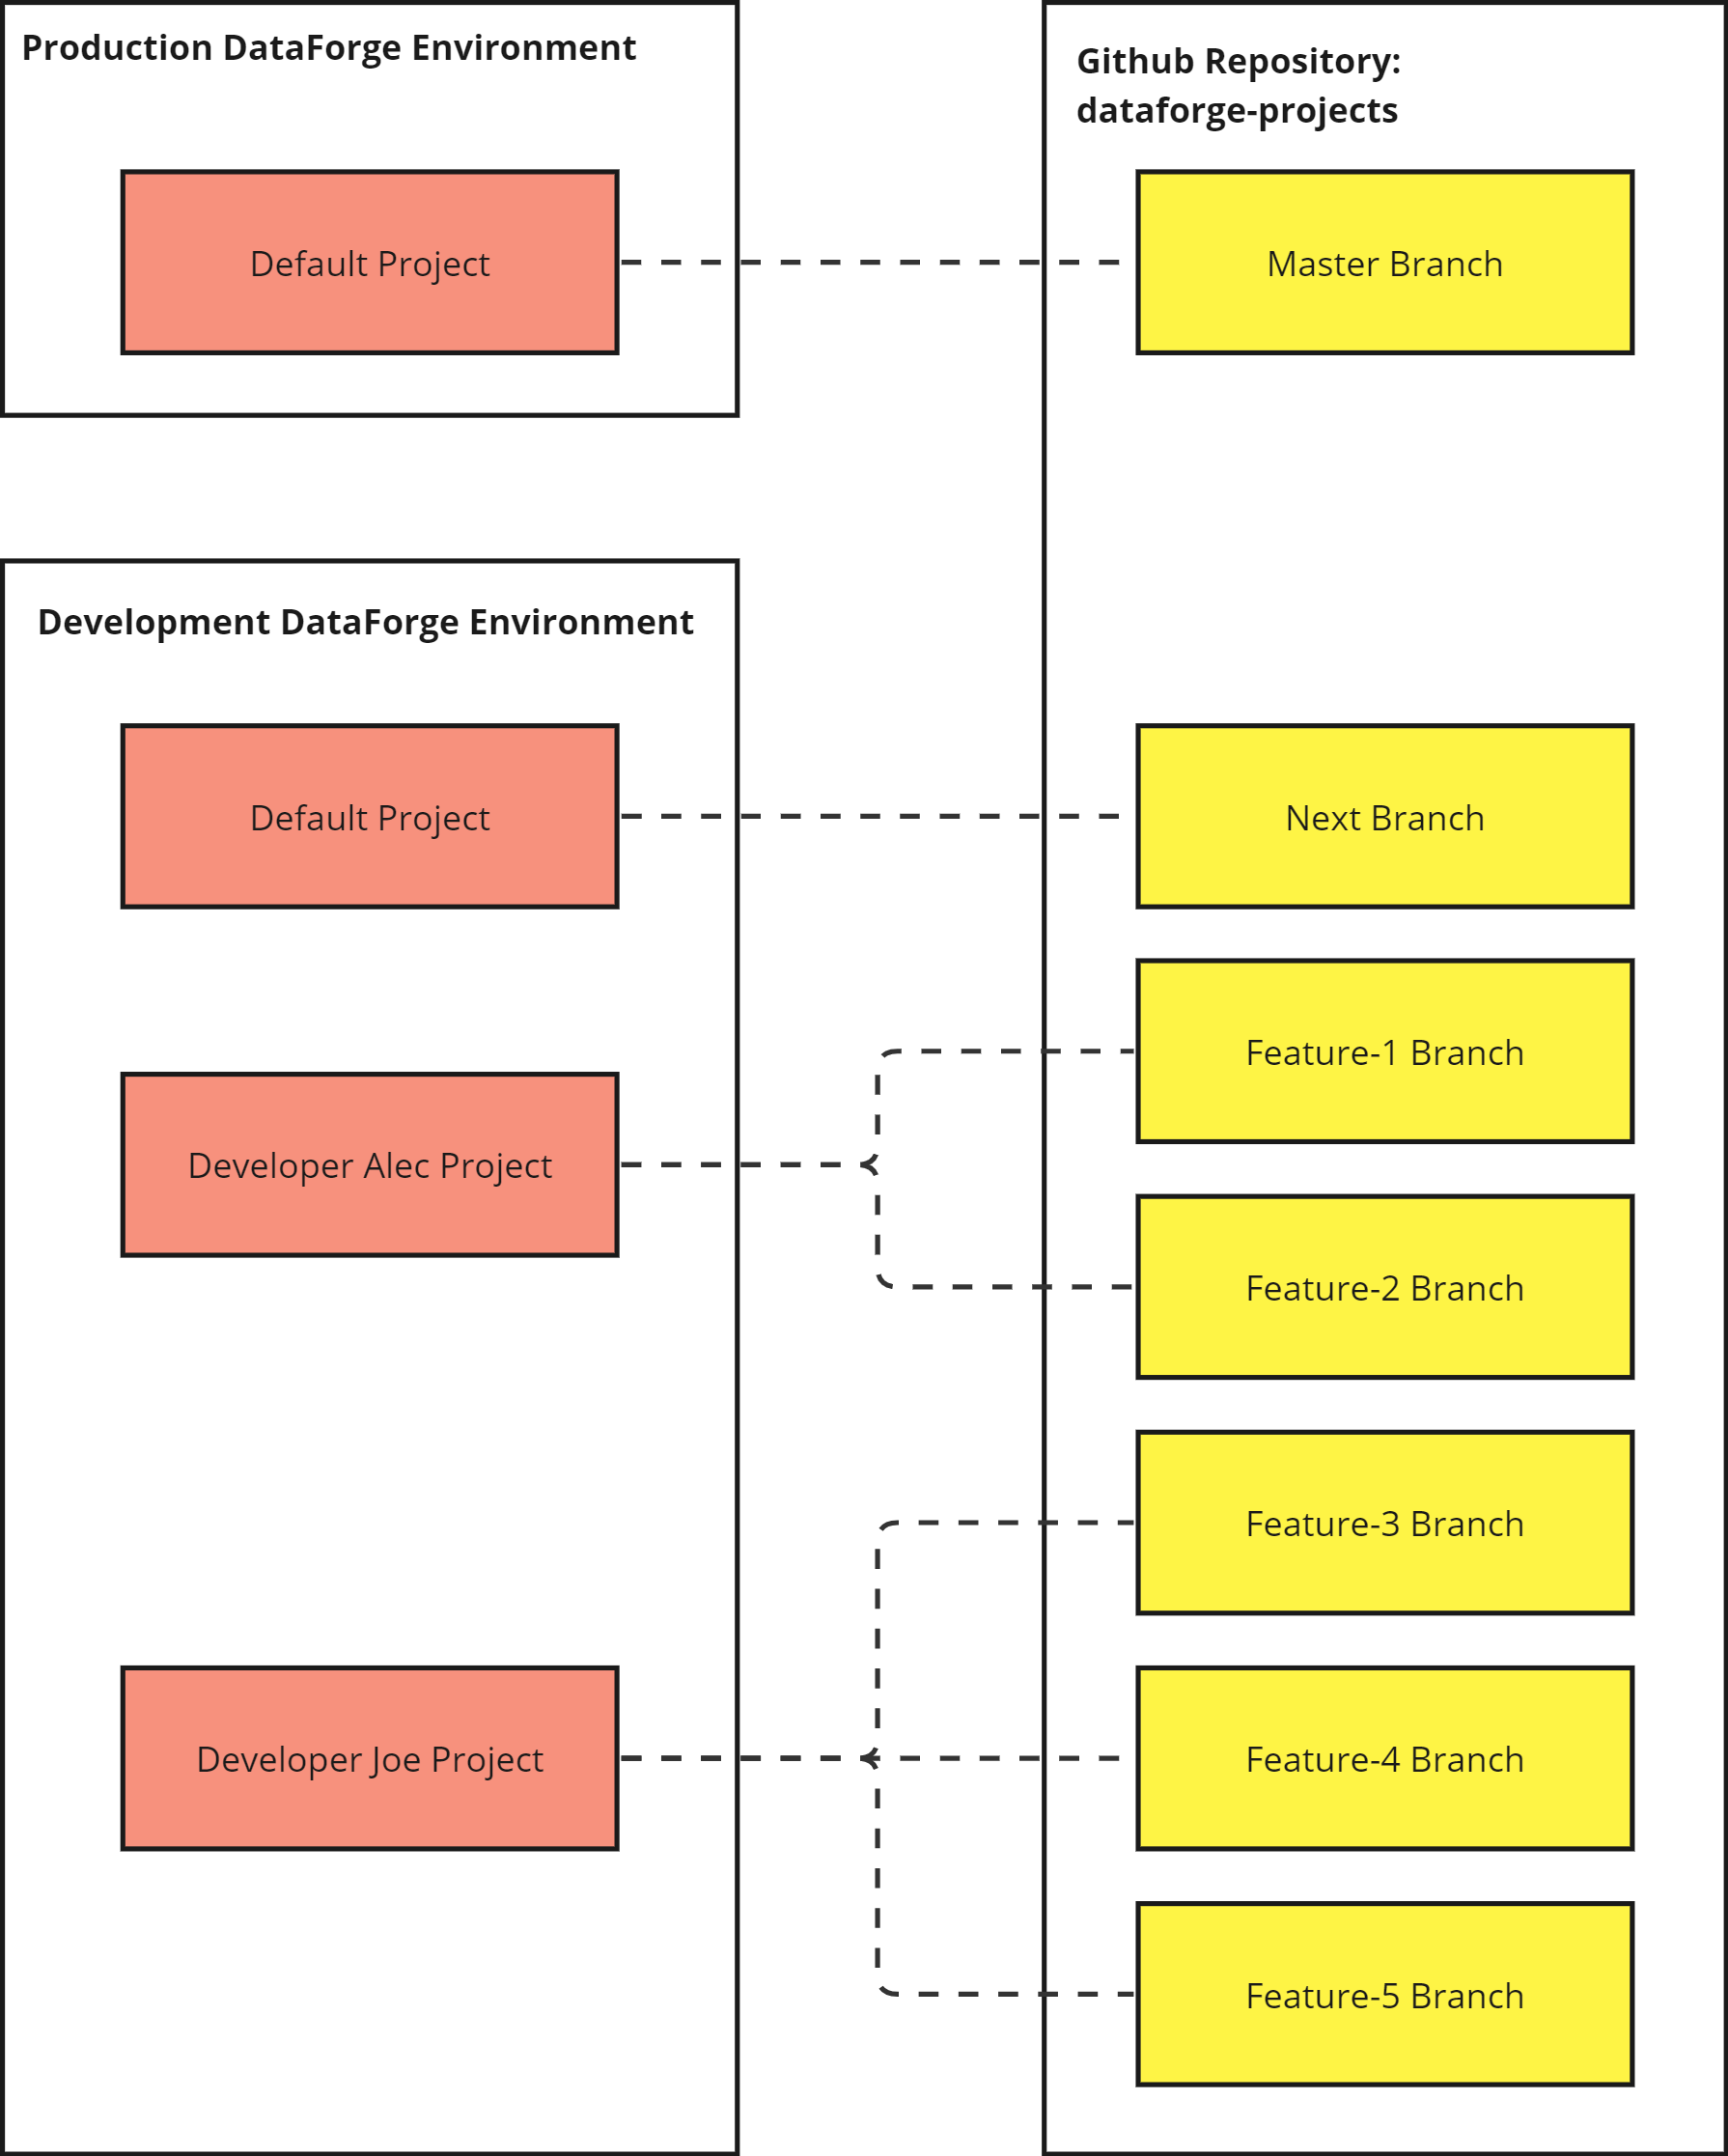
Master maps to the Default project in Prod; Next maps to the Default project in Dev. Each developer maintains their own project in Dev.
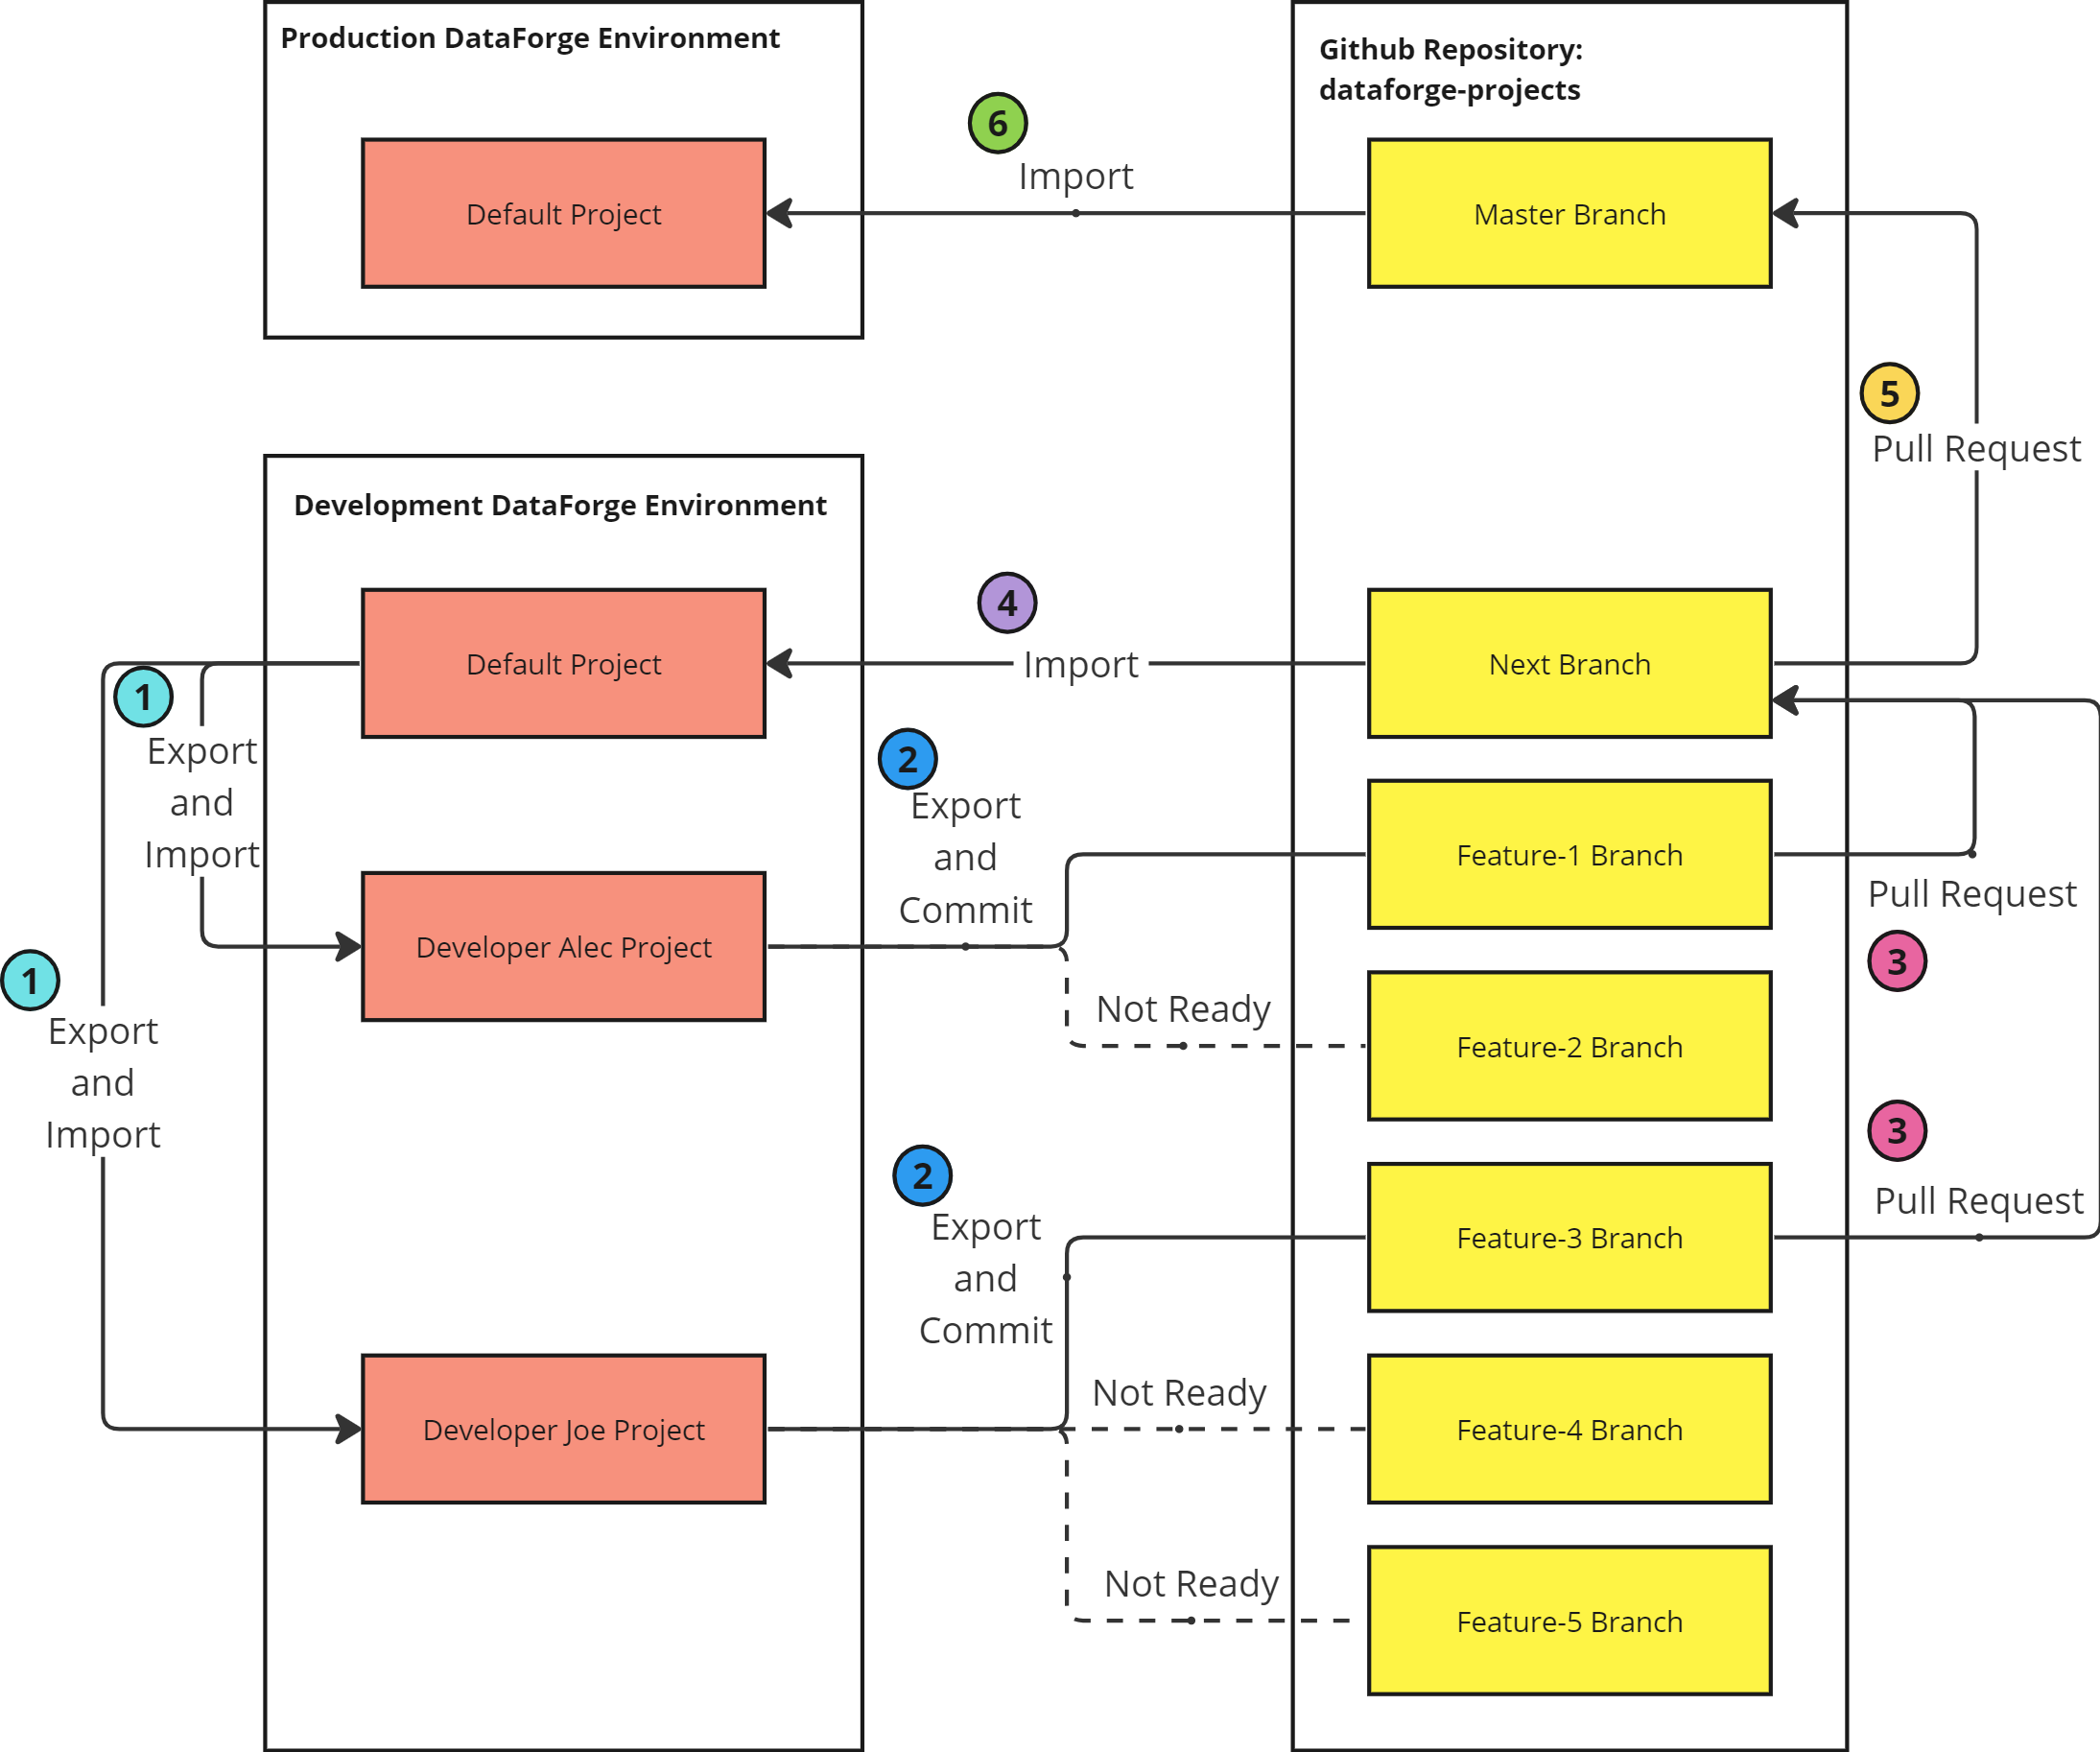
When changes are needed, developers import from the Next branch/Default Dev project into their own project, make changes, export, create a feature branch, commit, and open a pull request to Next. Once approved and merged, the Next branch is imported into the Default Dev project for unit testing. After testing, a pull request from Next to Master is created, approved, and merged — then Master is imported into the Default Prod project to go live.
This end-to-end process is shown in the diagram below.
Initial Setup of Github repository with two branches
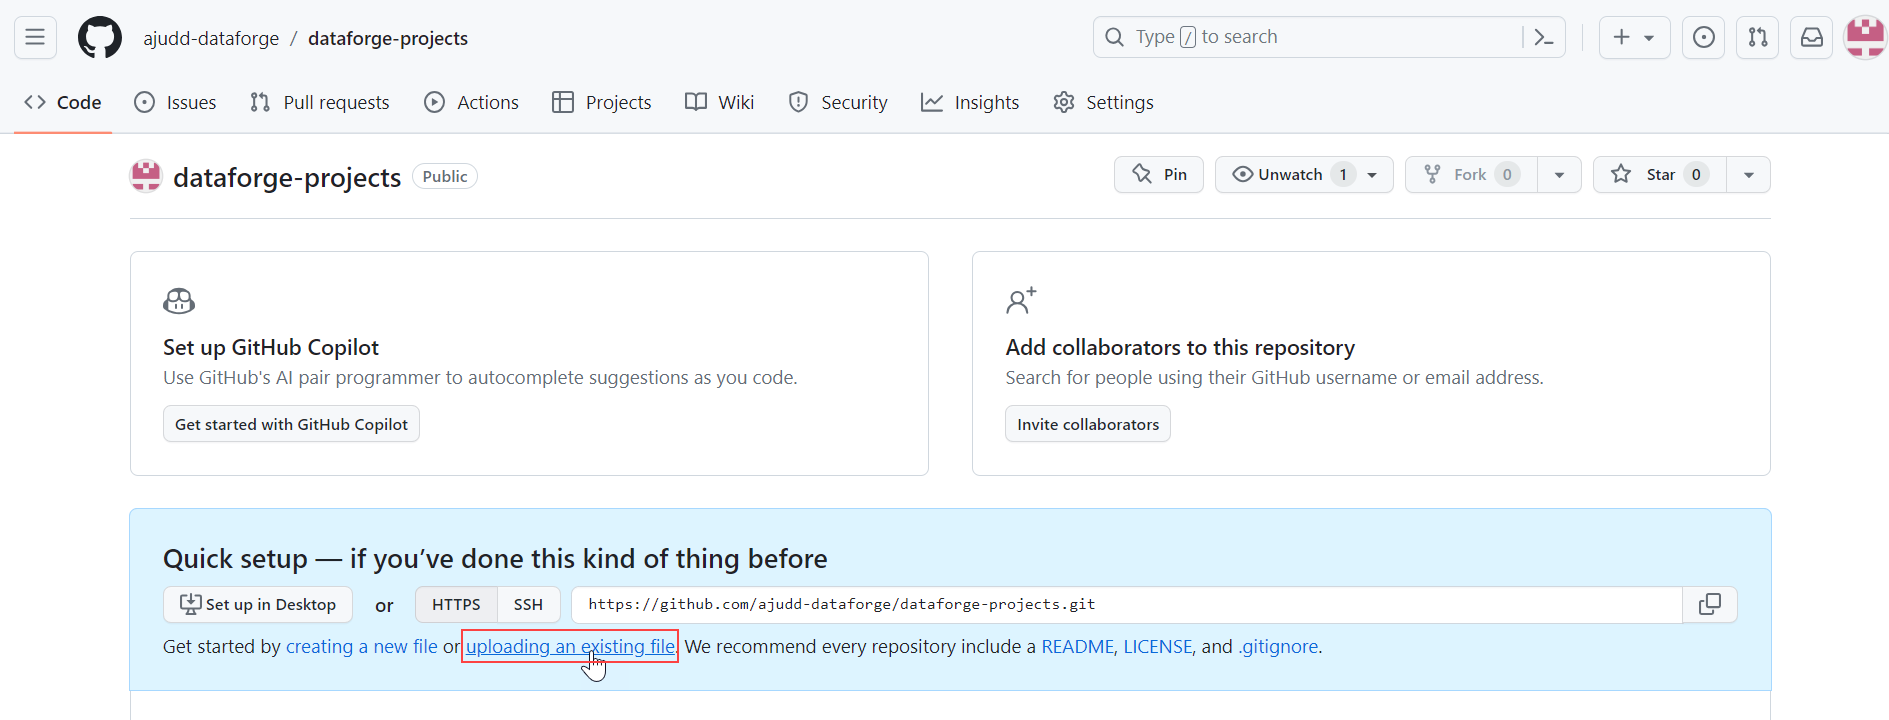
Create a new repository in GitHub using the GitHub UI.
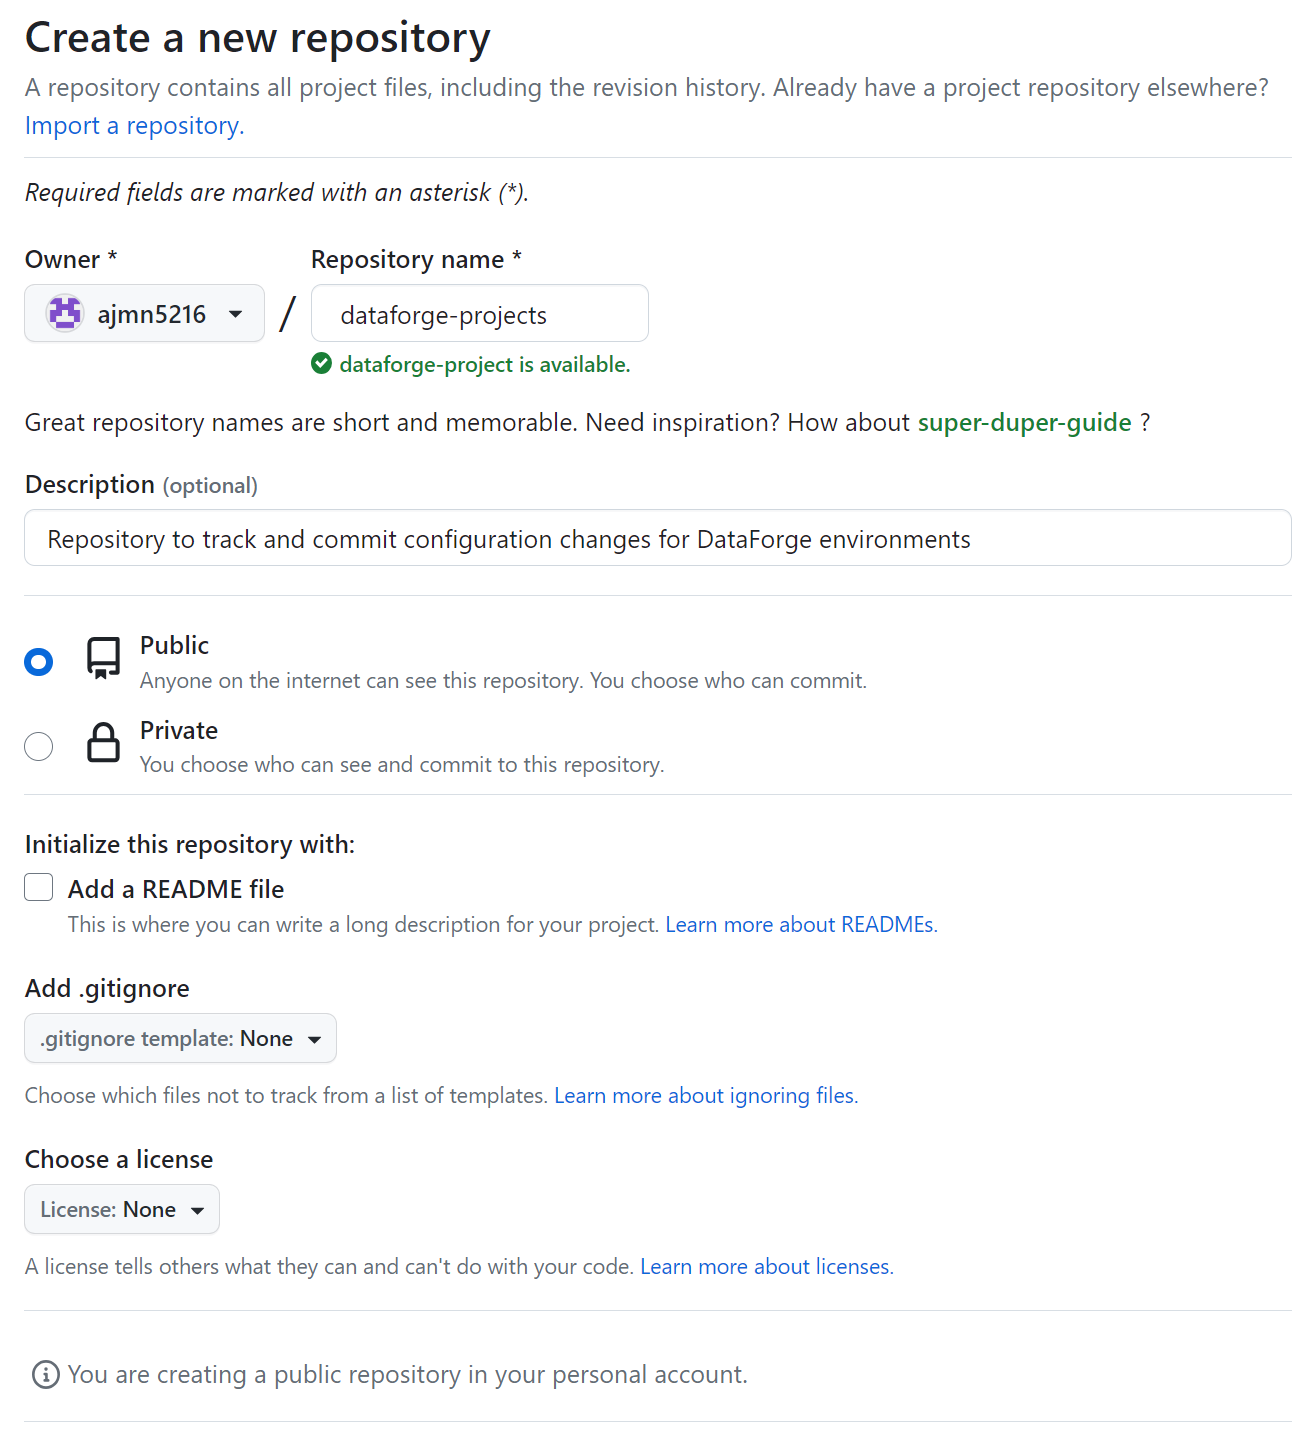
Creating new public repository named dataforge-projects
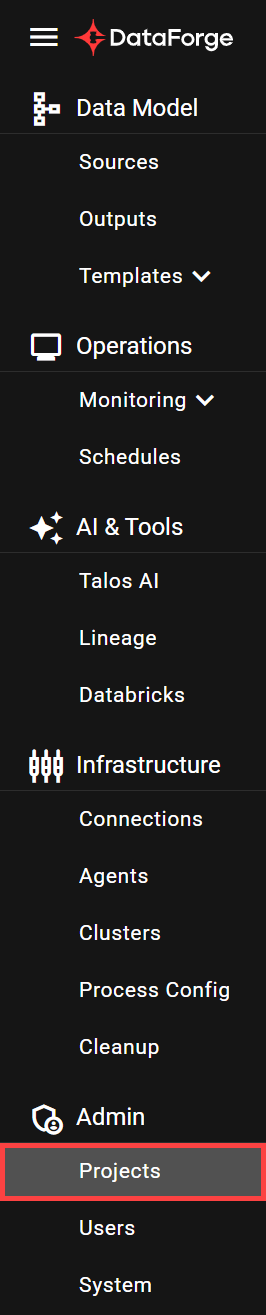
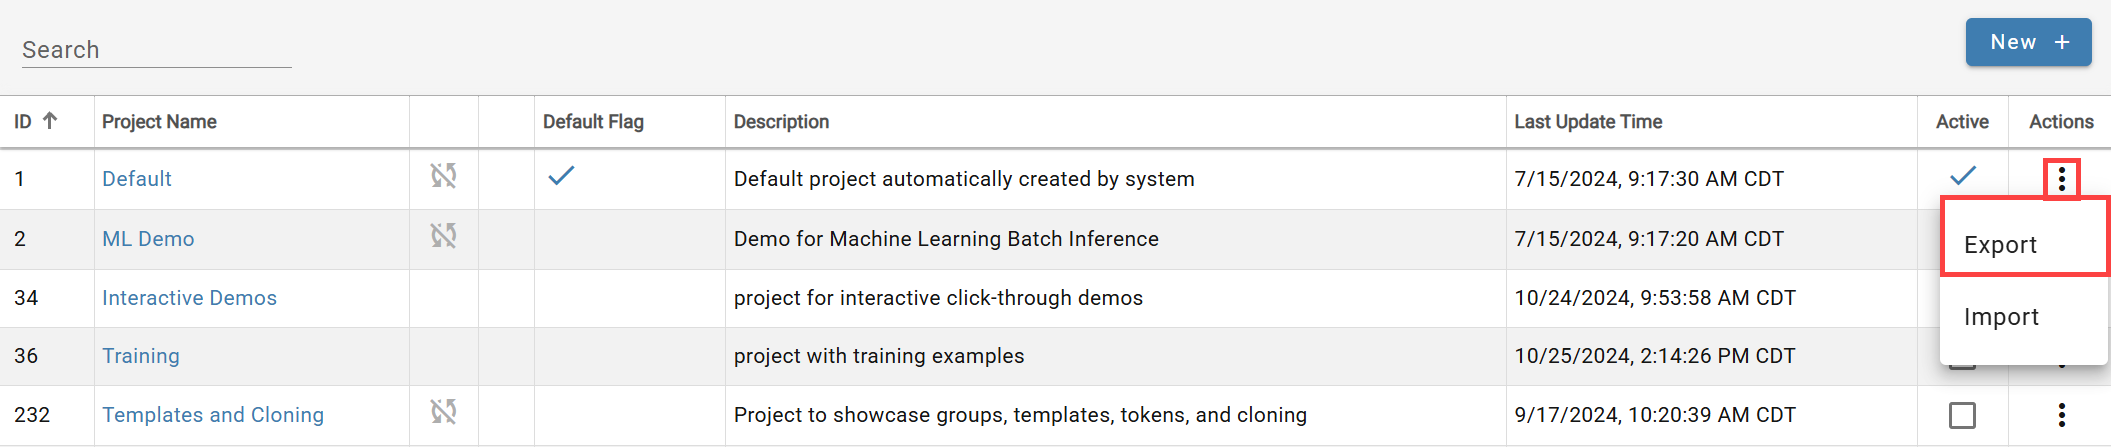
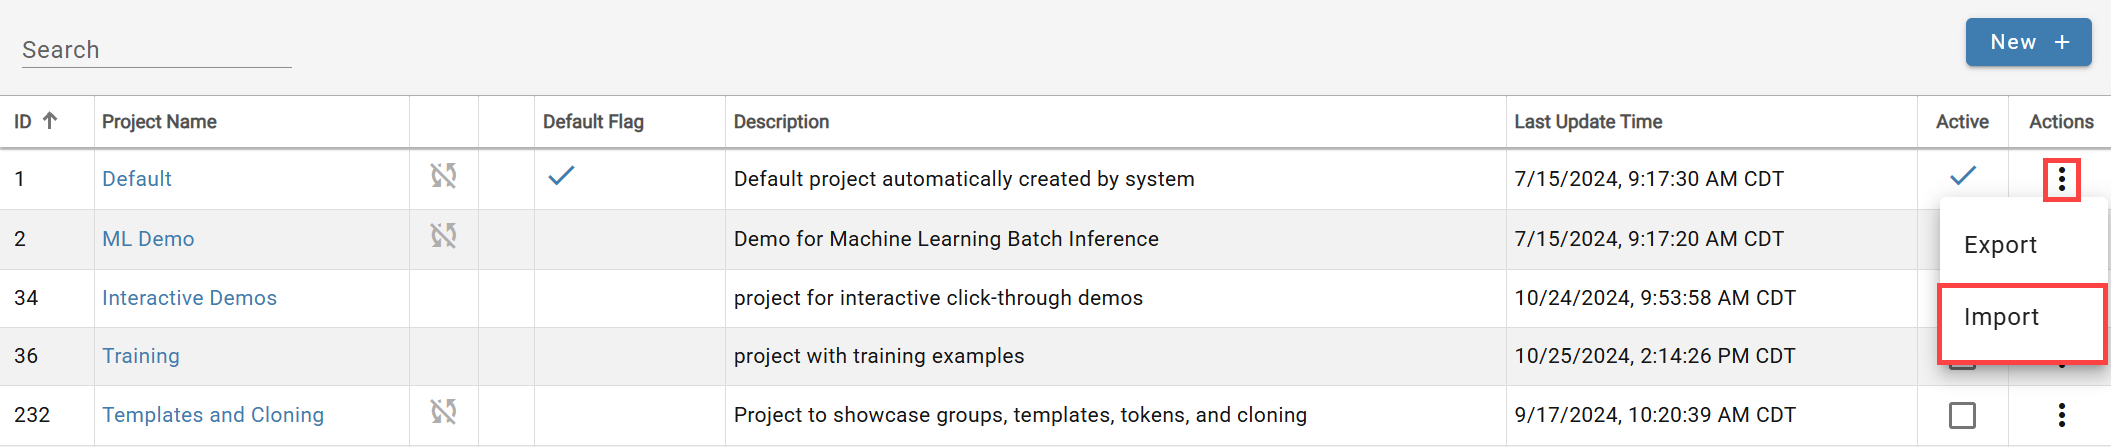
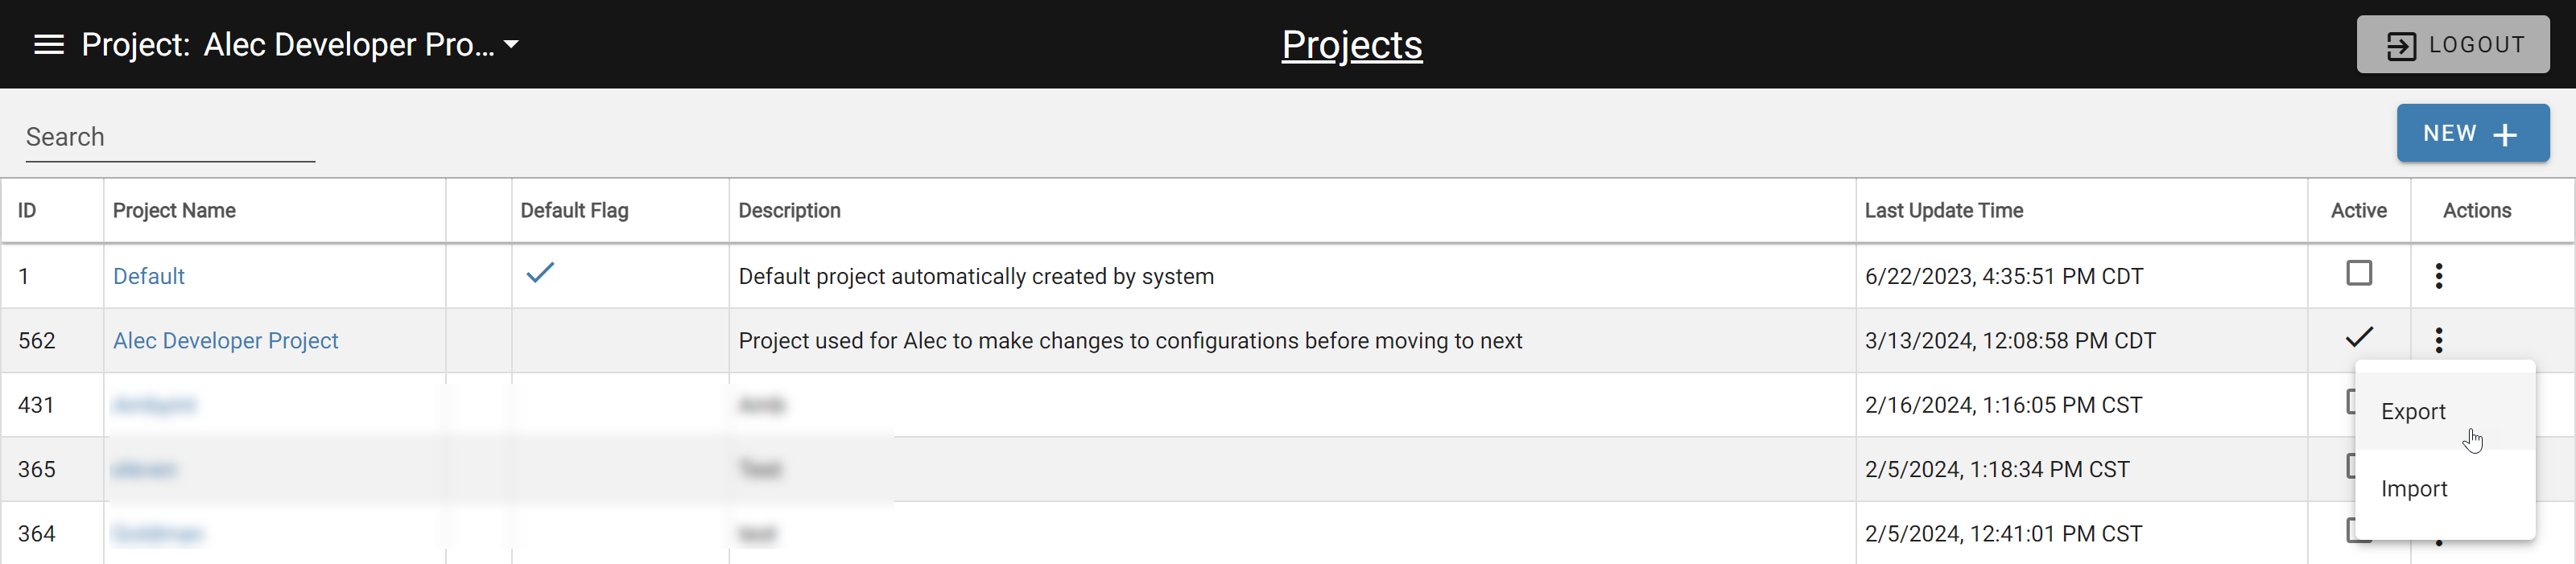
Populate it by uploading configuration files from the Default project in Prod. Export the Default project from Menu → Projects.
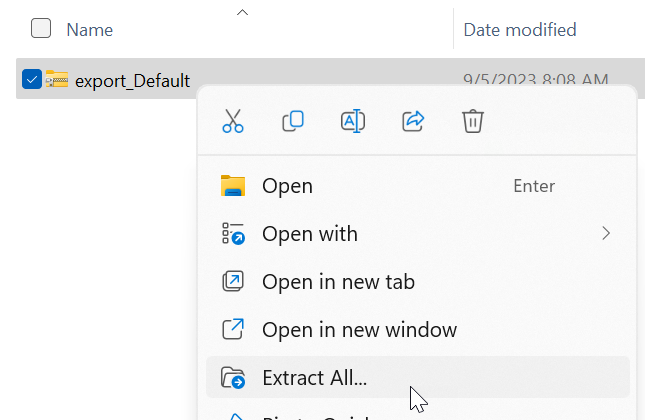
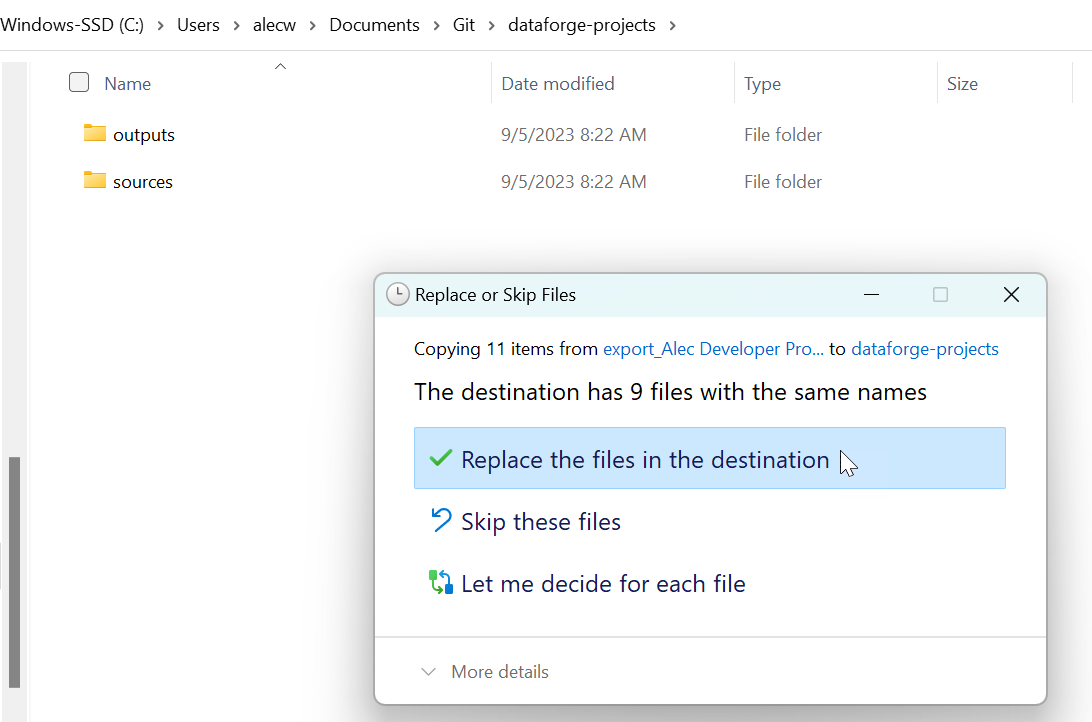
Open the file explorer and extract or unzip the exported project folder
Upload the sub-folders to the new GitHub repository, committing the Prod Default project configurations to master.
Drag the sub-folders of the project to Github to upload them and commit the changes
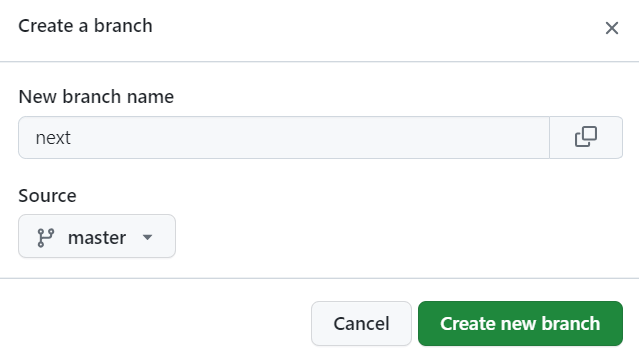
Click the 1 branch option, then add a new branch named "next" from Master.
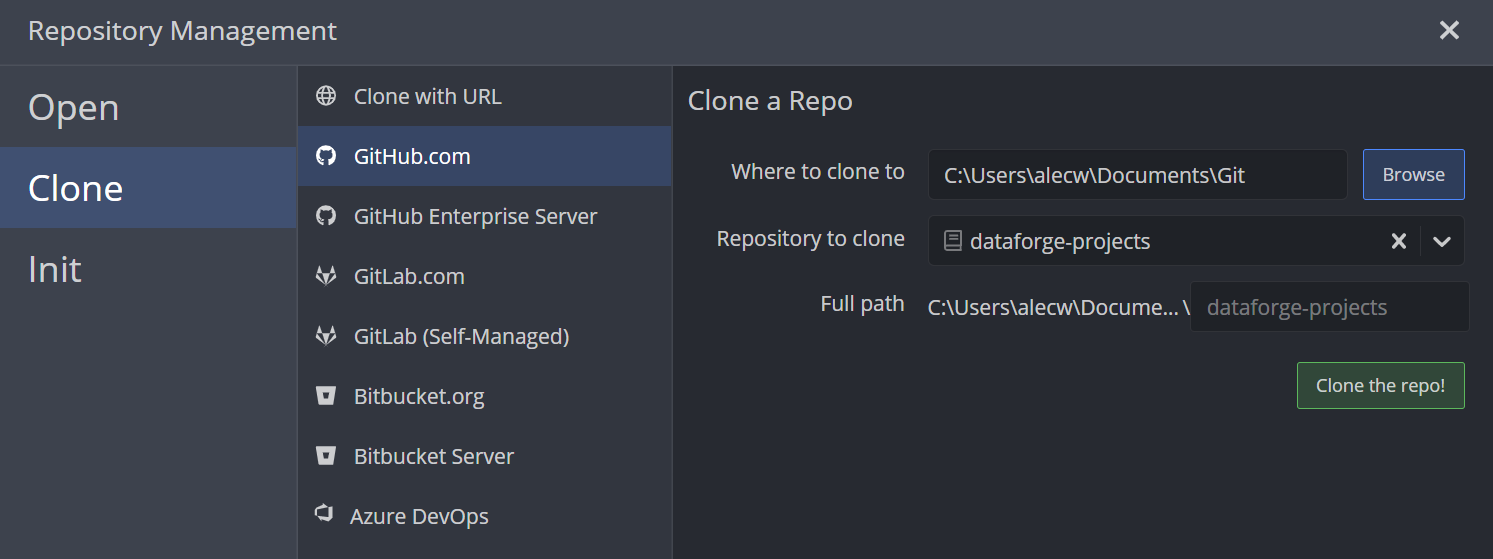
Clone the repository locally using GitKraken: File → Clone Repo, select a folder and the dataforge-projects repository, then click Clone the Repo.
After the clone, both master and next are visible in Remote (master also locally). Do not commit directly to either — instead create feature branches in GitKraken and use pull requests to move changes to next.
As a one-time setup, import the Next branch configurations into the Default project in Dev. You can either check out the branch locally in GitKraken (used here) or download the zip from GitHub.
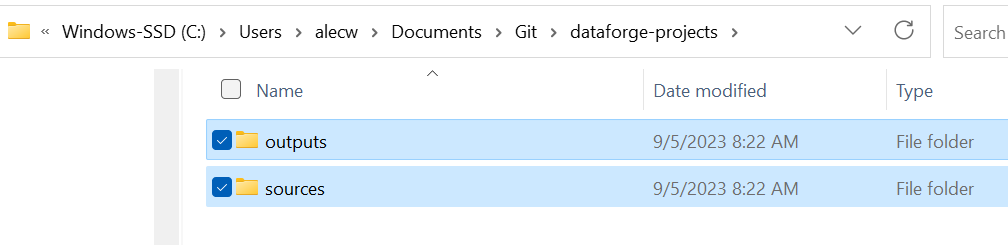
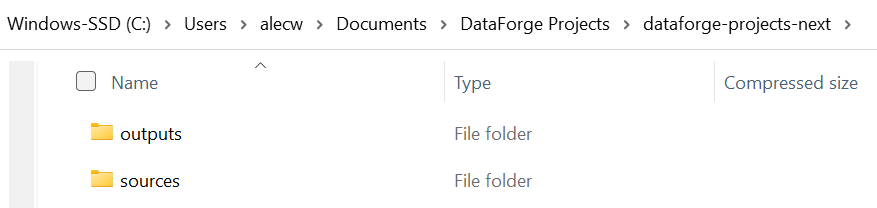
In GitKraken, double-click the next branch to check it out, then open the local repository folder.
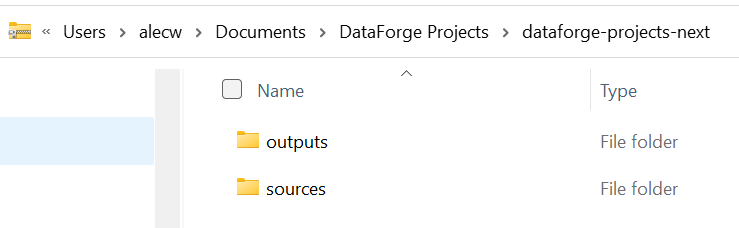
Copy all folders, create a zip named dataforge-projects-next, and paste the contents into it.
Import this zip into the Default project in the Dev environment via Menu → Projects.
The Default project is now in sync with the Next branch.

Updating developer projects and making changes
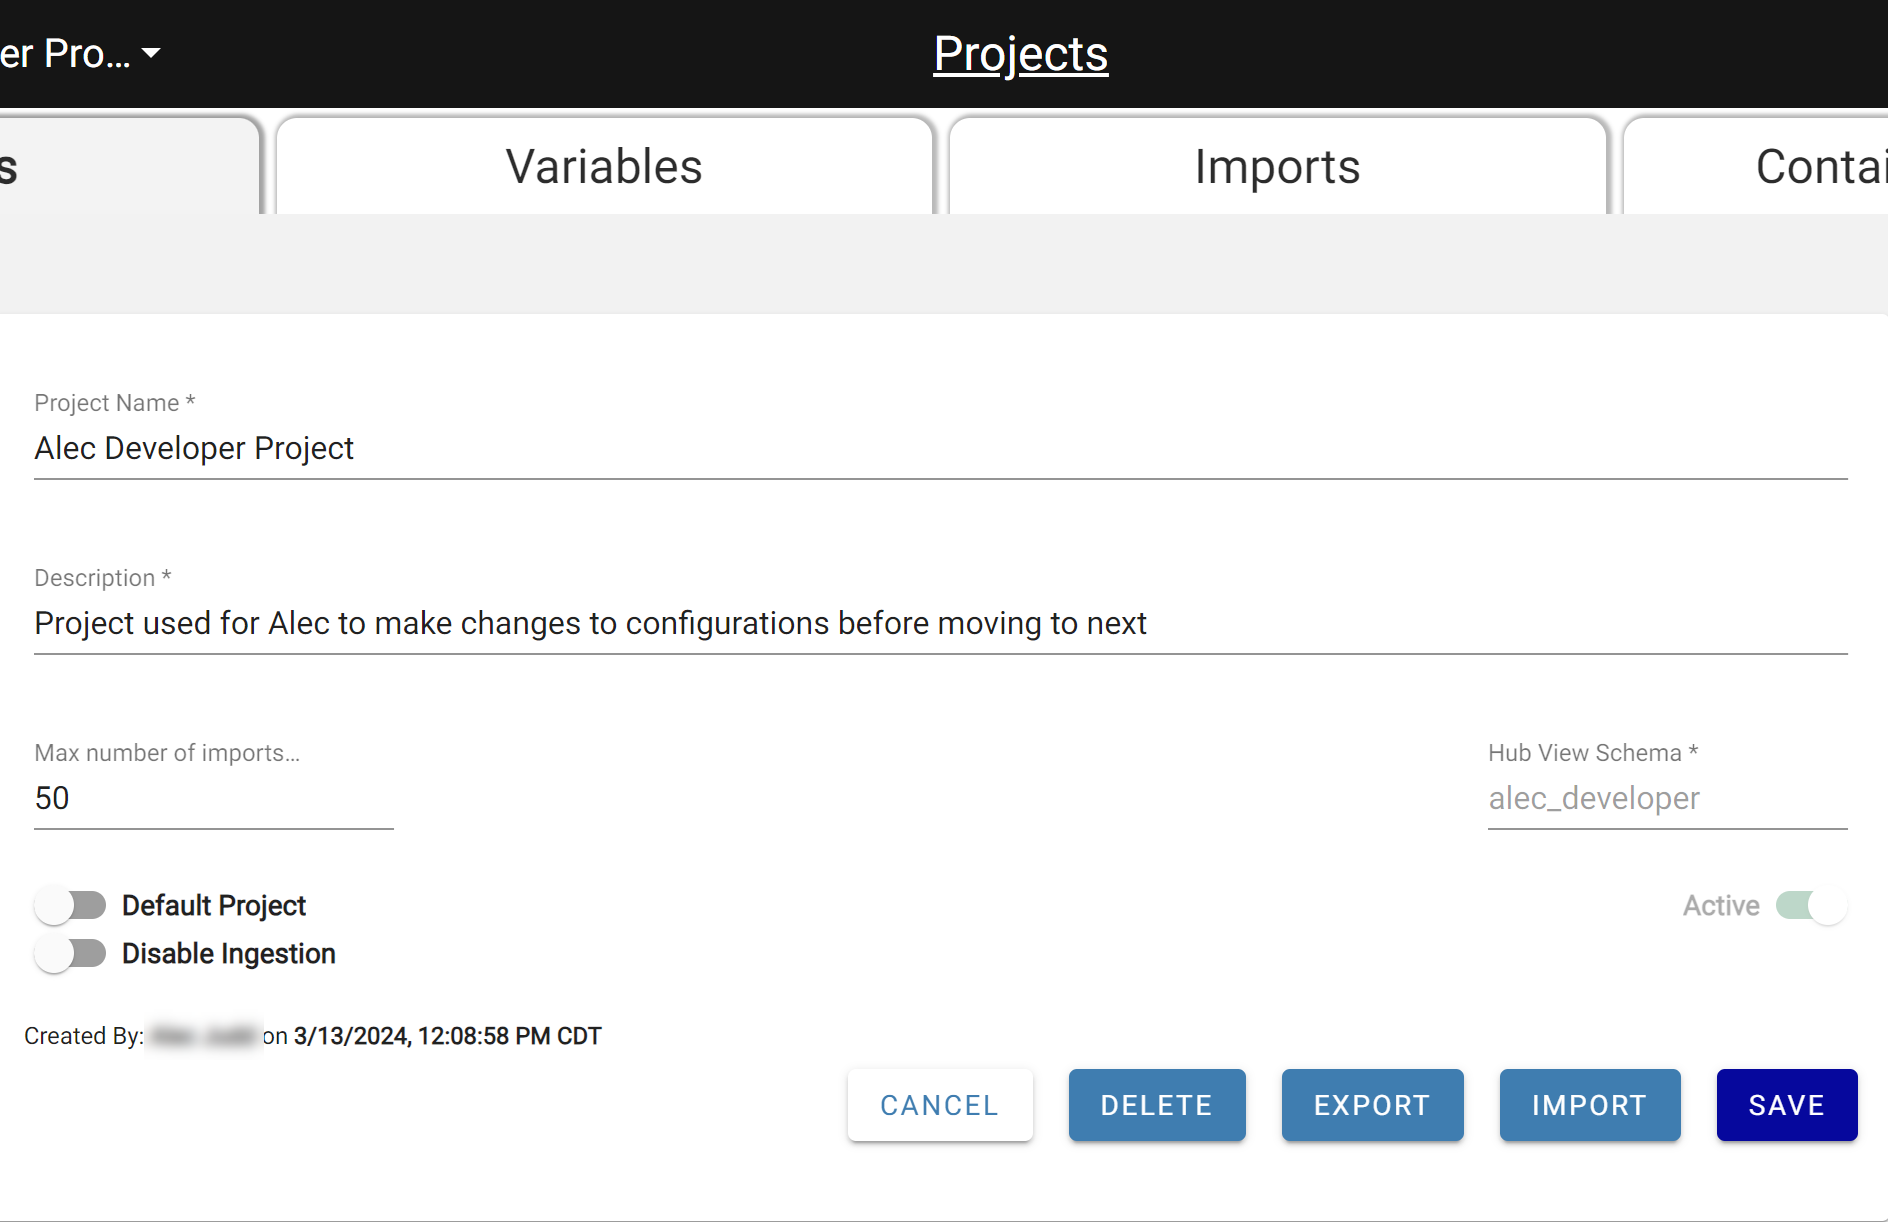
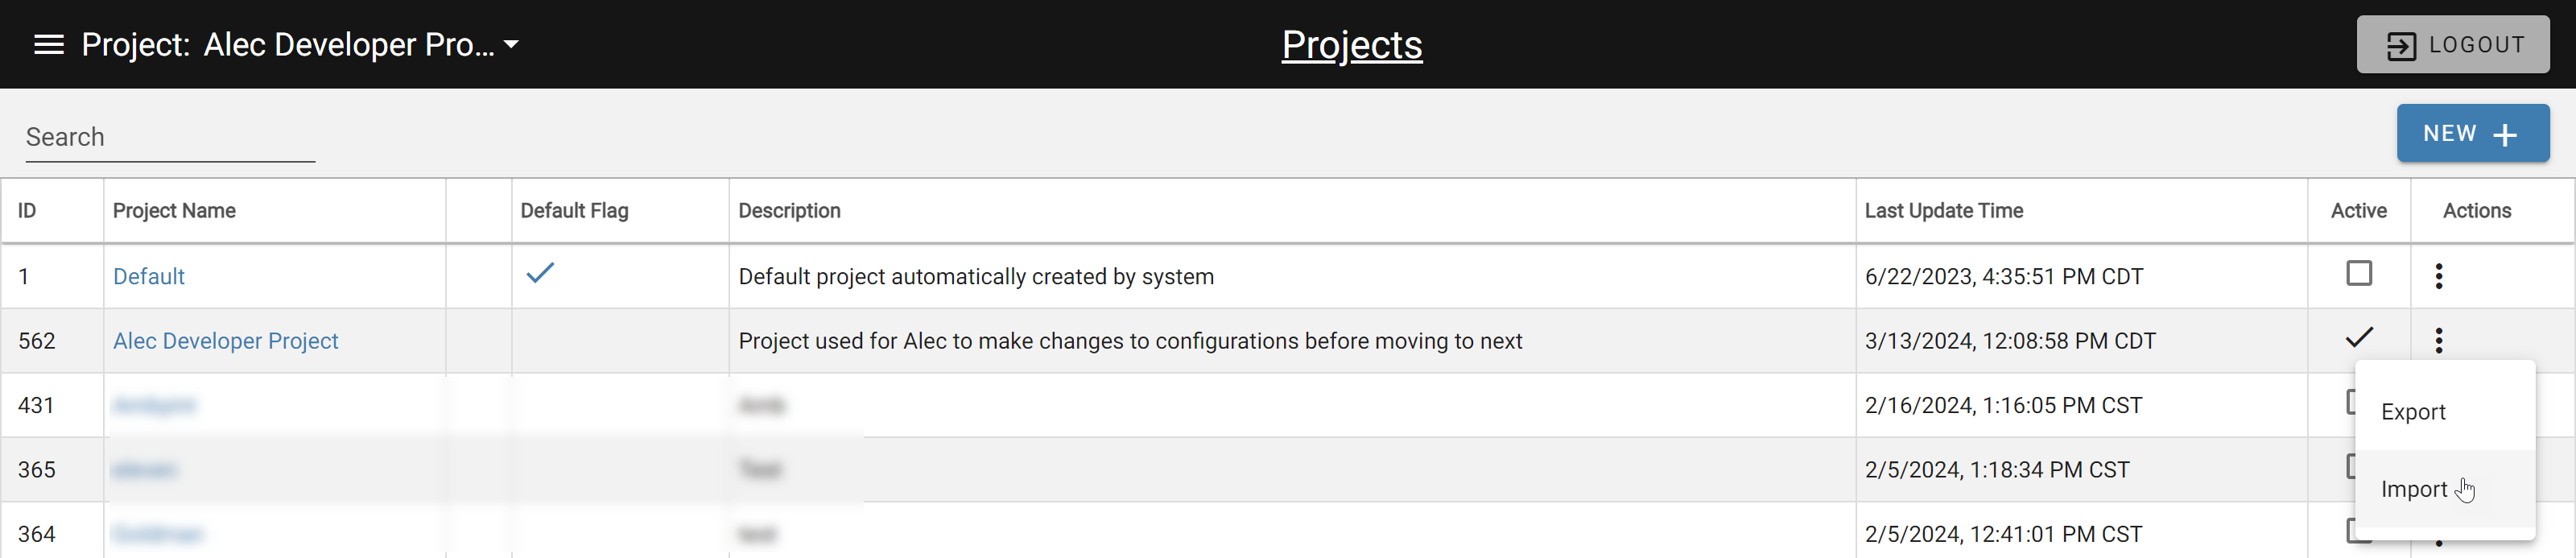
Start by syncing your developer project with the latest from the Next branch or Default Dev project. If you don't have a developer project, create one with New + on the Projects page and save it.
Export the Default project first.

Import the exported project folder into the developer project.
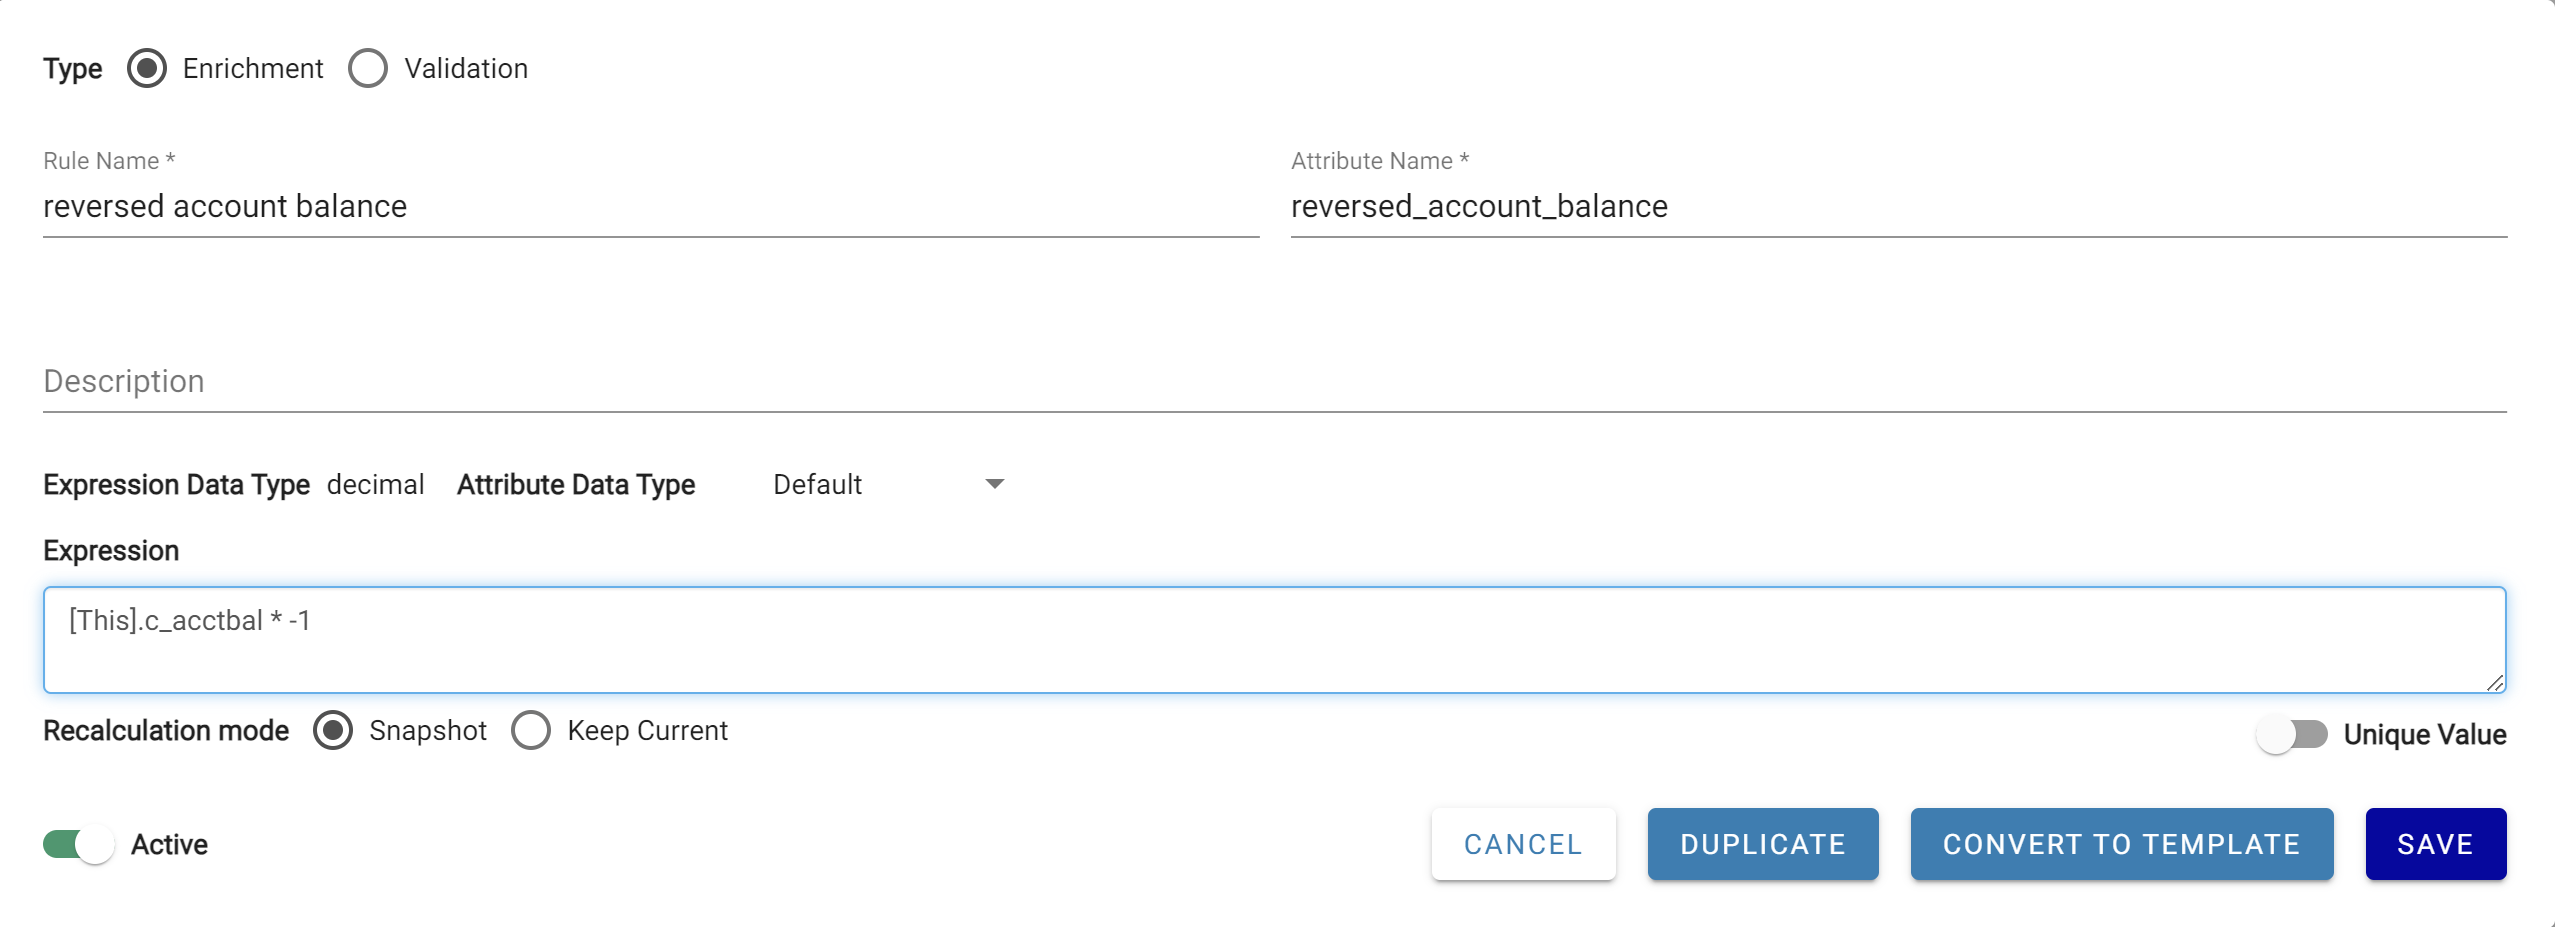
The developer project is now ready for changes. In this example, we'll add a rule called "reverse account balance" to the source "Databricks JDBC Samples - tpch.customer".
Creating a new feature branch and committing changes
Once changes are complete, export the developer project.
In GitKraken, right-click the remote next branch and choose Create branch here.
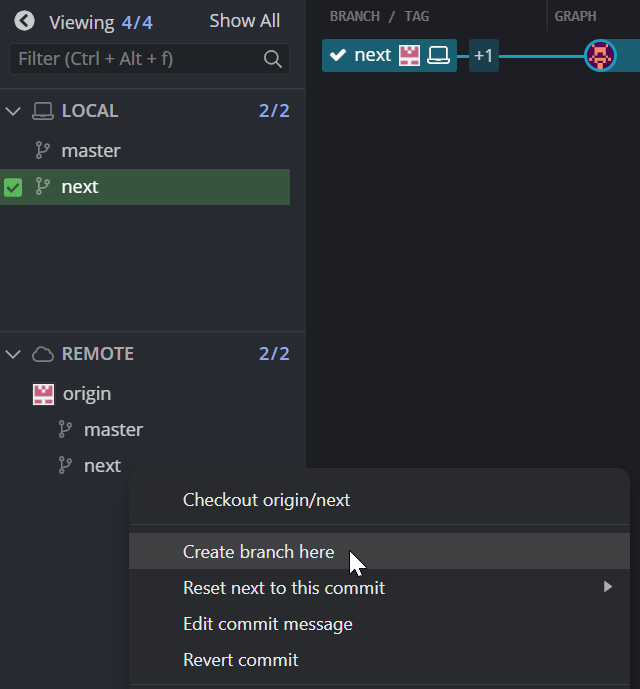
Name the branch (e.g., "feature1-reverserule") and check it out. Copy the exported project sub-folders into the local git repository folder, replacing existing files.
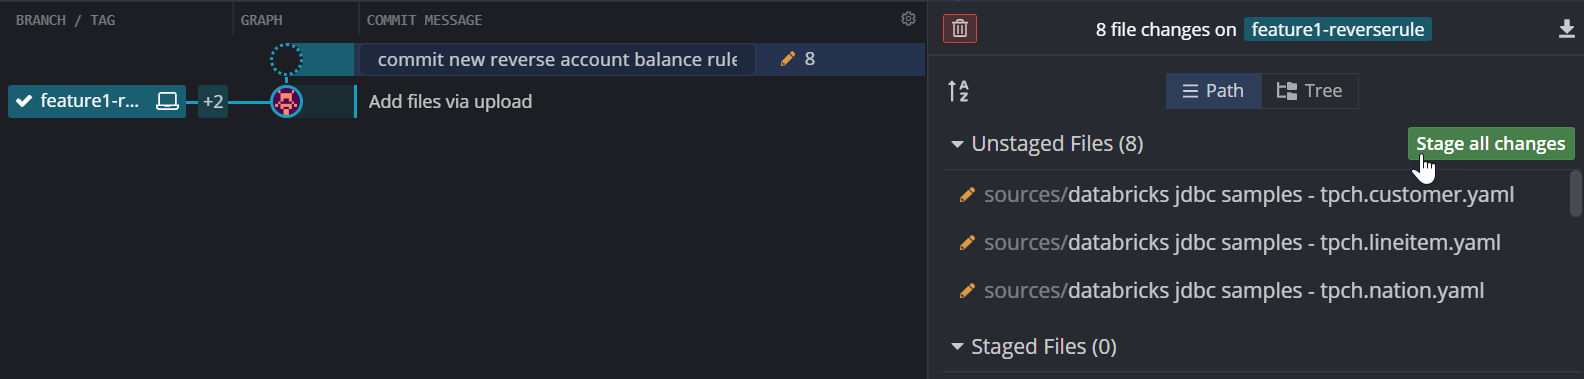
In GitKraken, stage all changes, add a descriptive commit message, and commit.
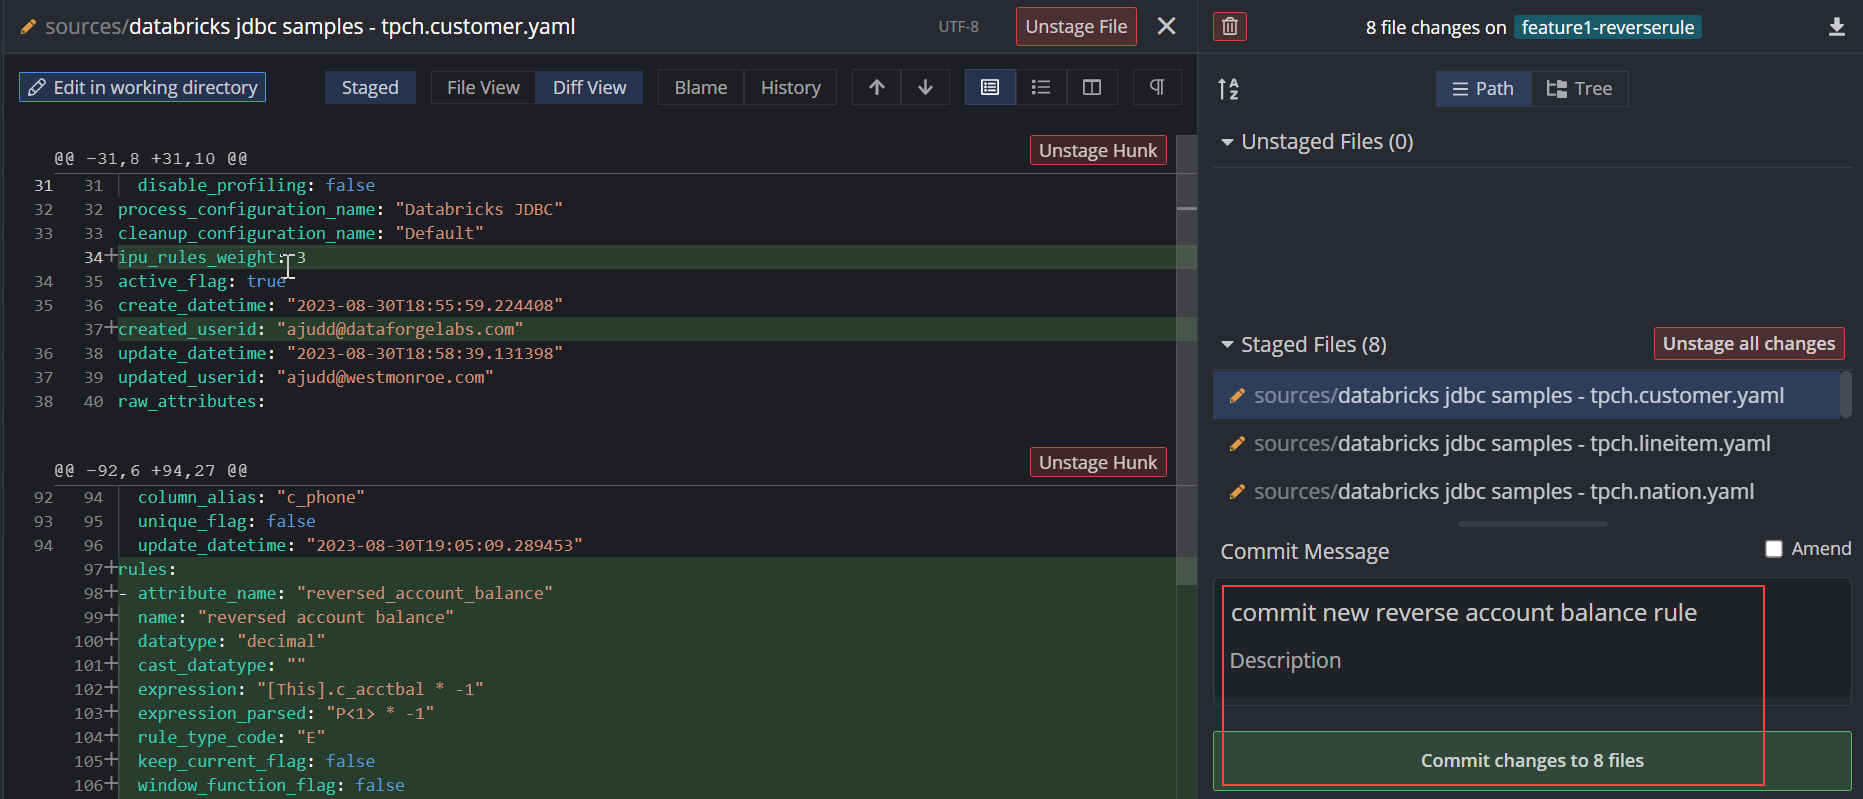
Push the feature branch to the remote repository and click Submit.

Creating a Pull Request
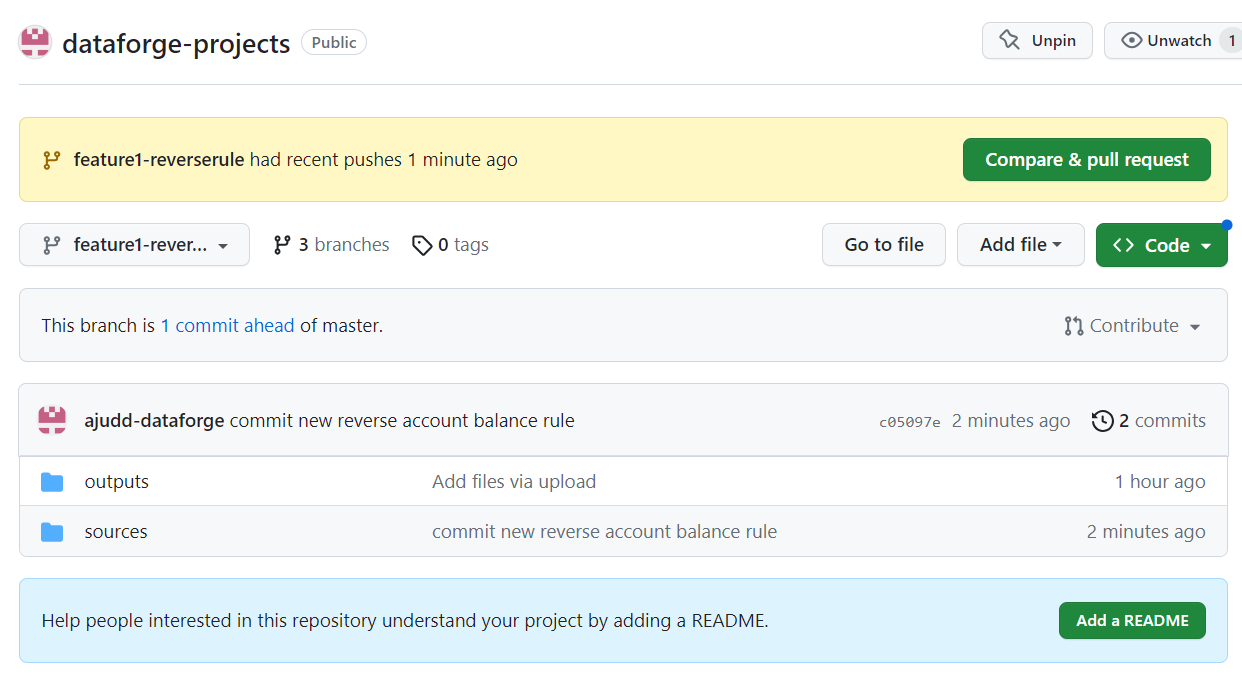
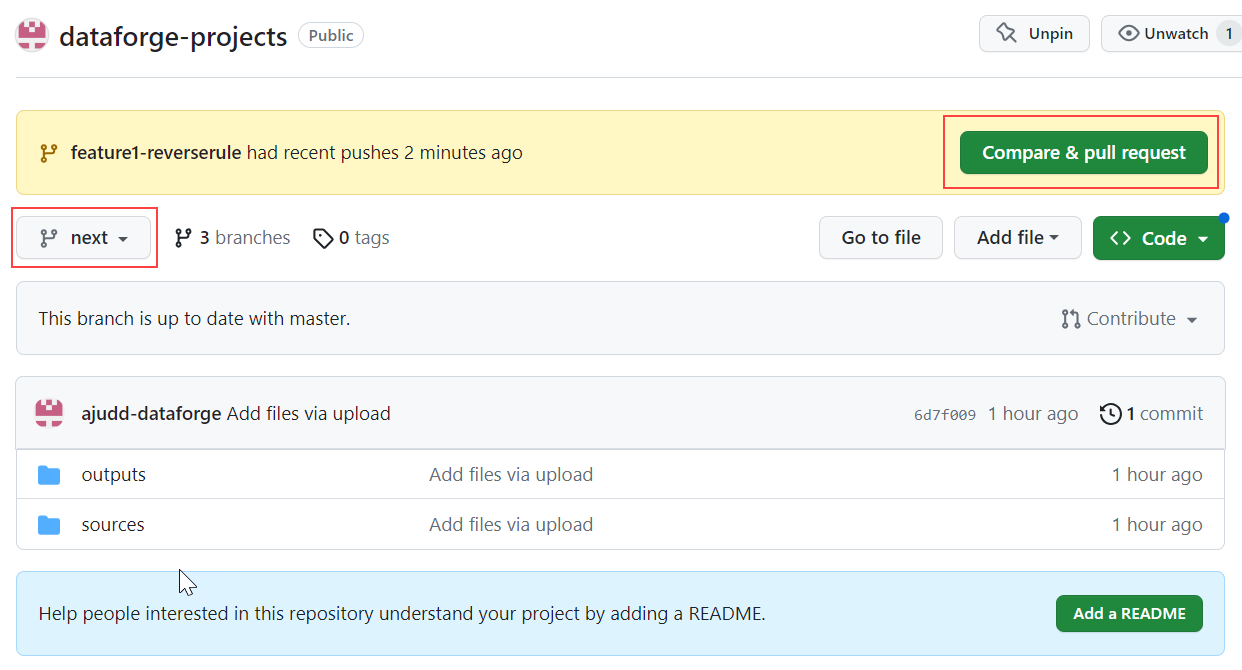
In GitHub, switch to the Next branch and use Compare & pull request.
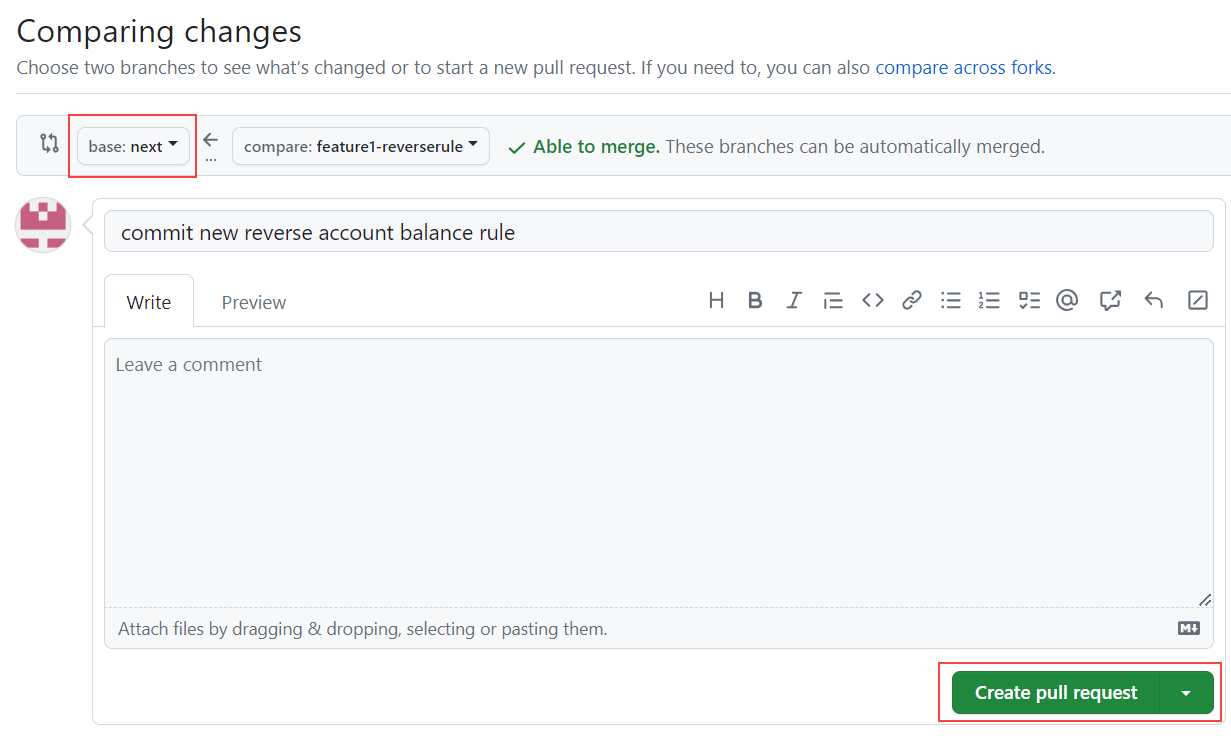
Set the base branch to next (not master), review the listed changes, and click Create pull request.
Approve the Pull Request into Next
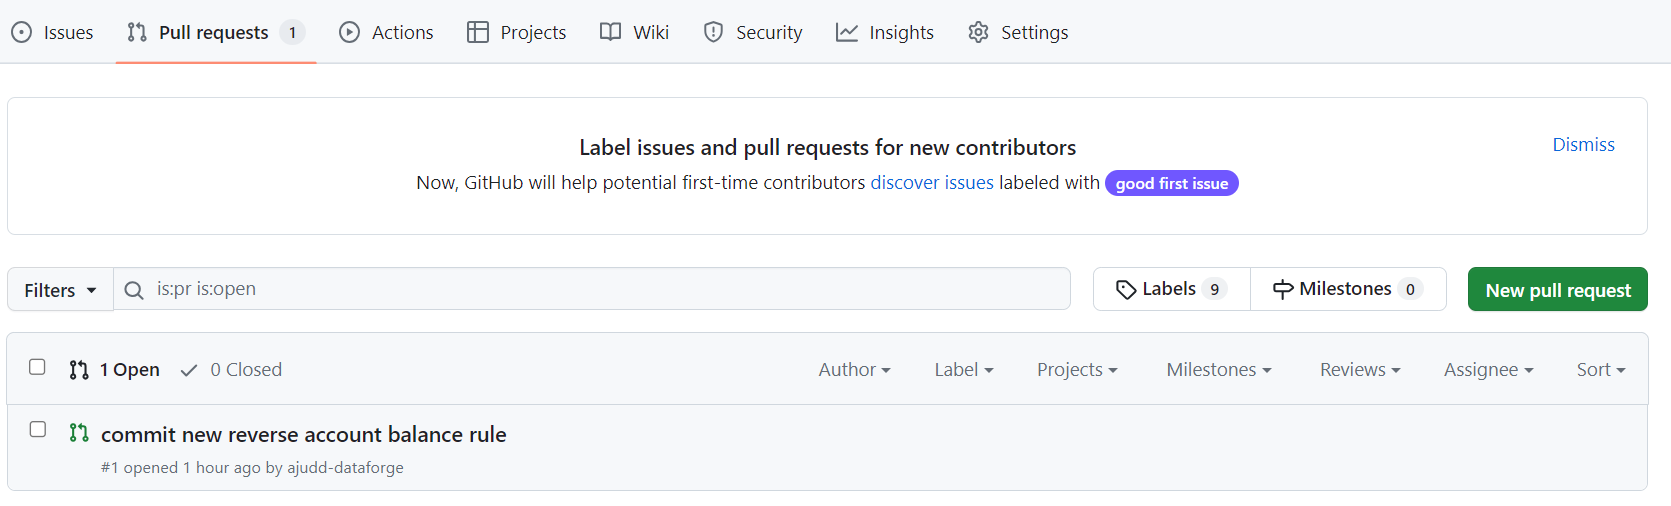
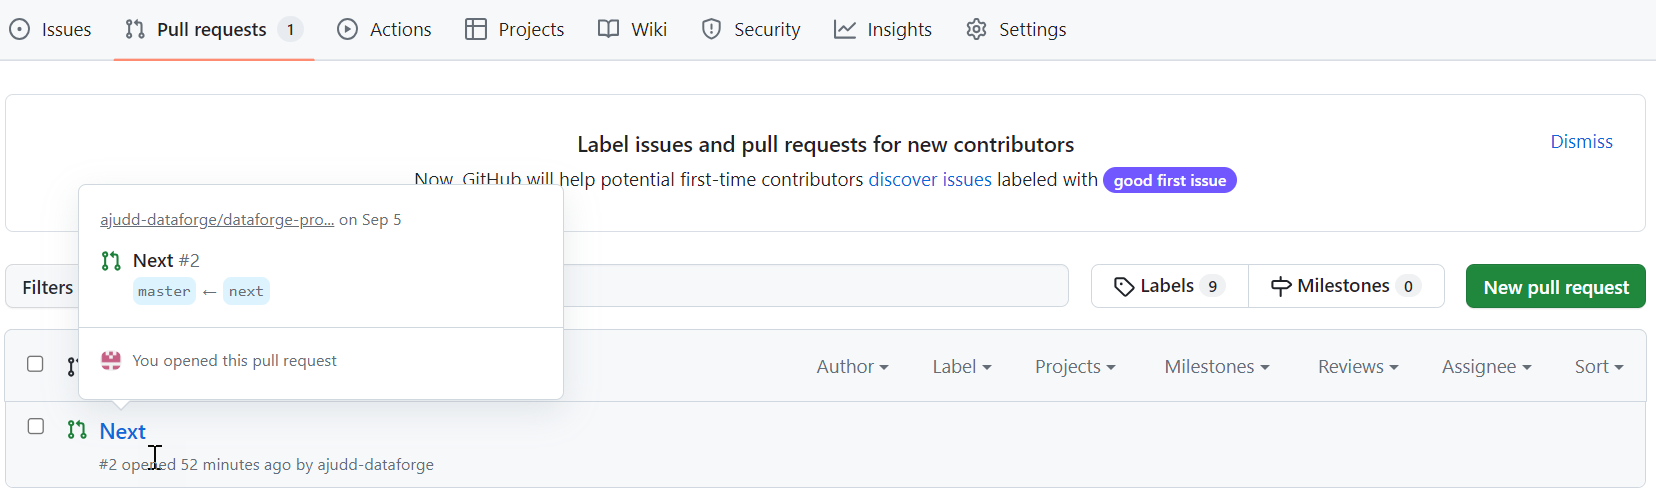
Open the Pull Requests tab in the GitHub repository. With multiple developers, there may be several pull requests to review and merge.
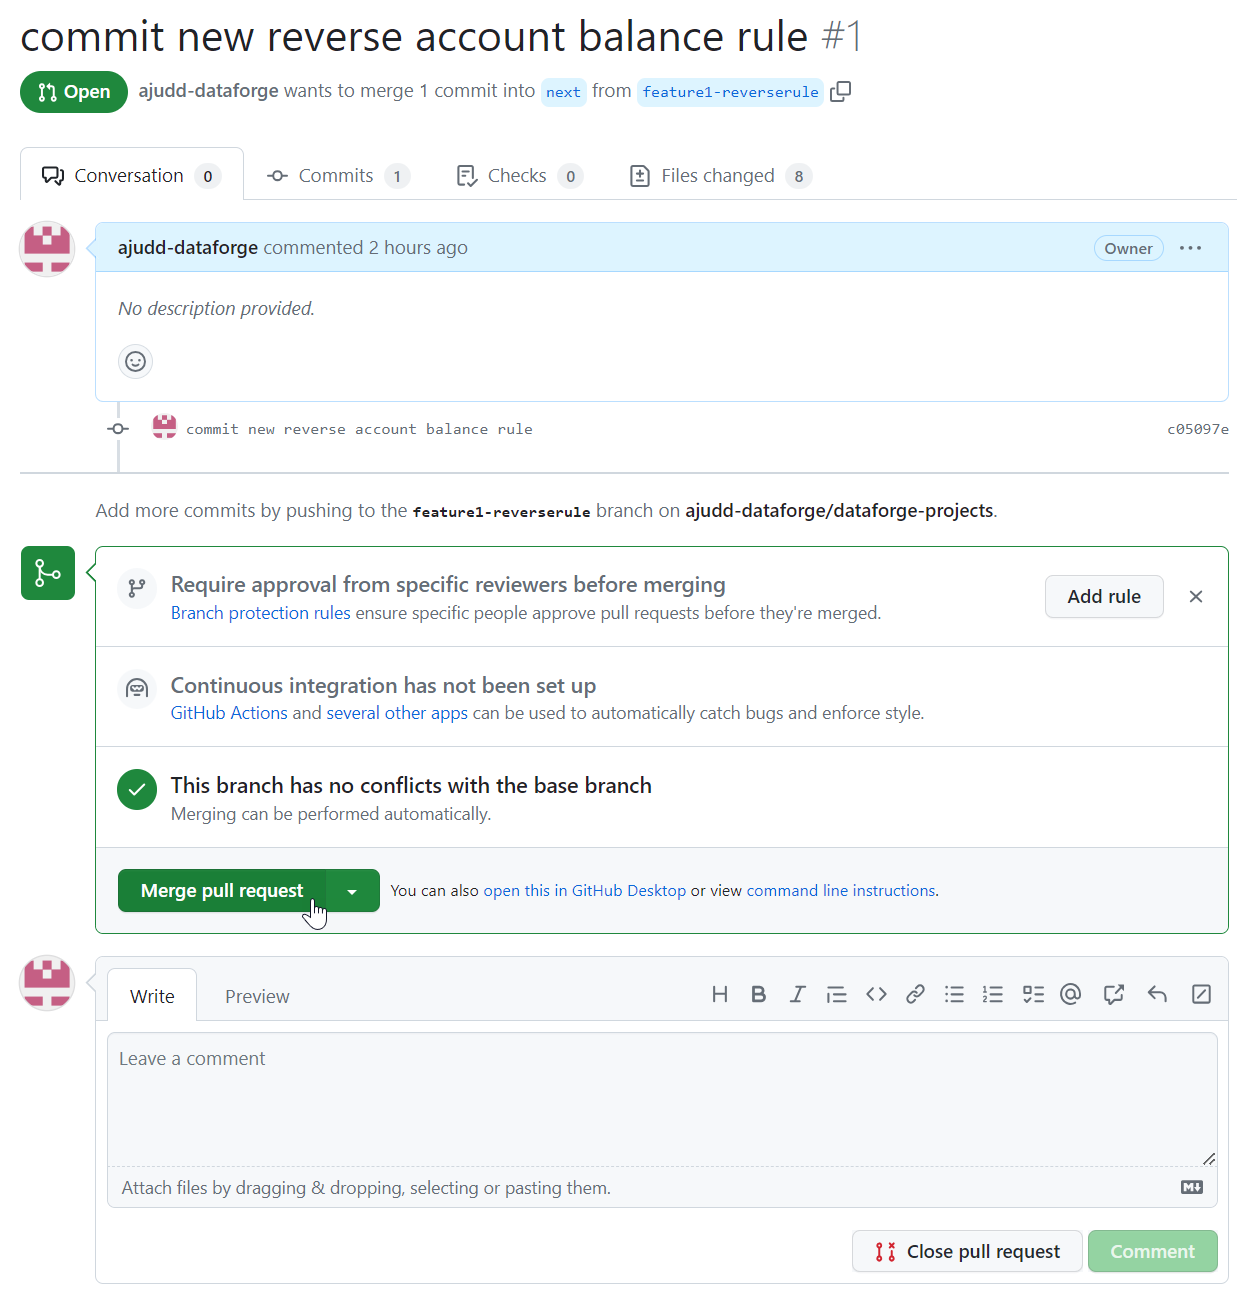
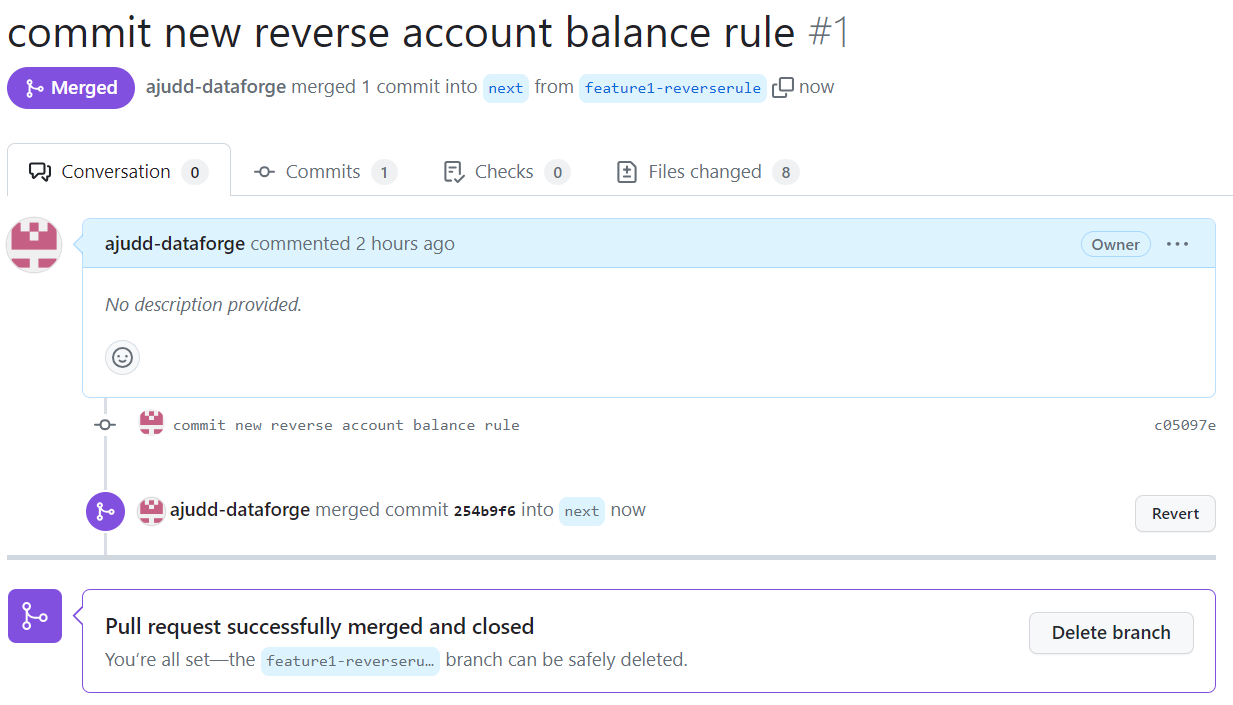
Open the pull request, review the Commits tab, then select Merge Pull Request → Confirm merge.
Update Default project with configurations from next branch for testing
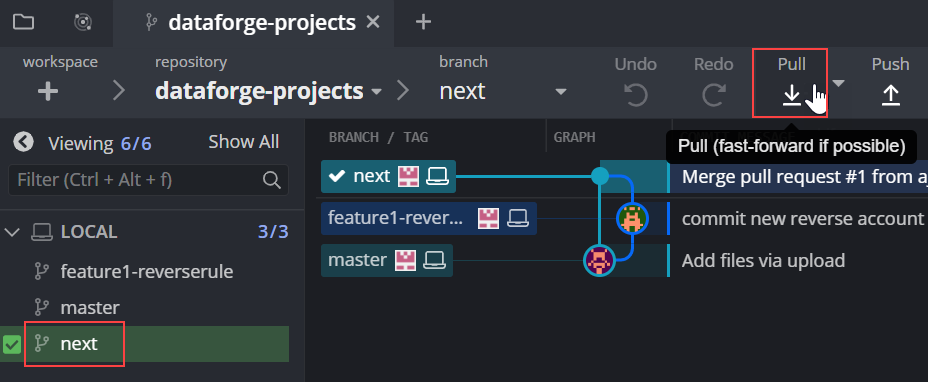
Import the Next branch configurations into the Default Dev project to unit test with existing ingested data. In GitKraken, select the local Next branch and Pull to update it from remote.
Check out the next branch locally. Copy the sub-folders into a zip and import it into the Default Dev project.

Test the changes before promoting to production.
Create a Pull Request from Next to Master
In GitHub, switch to master and click Compare & pull request. Confirm base is master and compare is next, then click Create pull request.

Approve the Pull Request from Next to Master
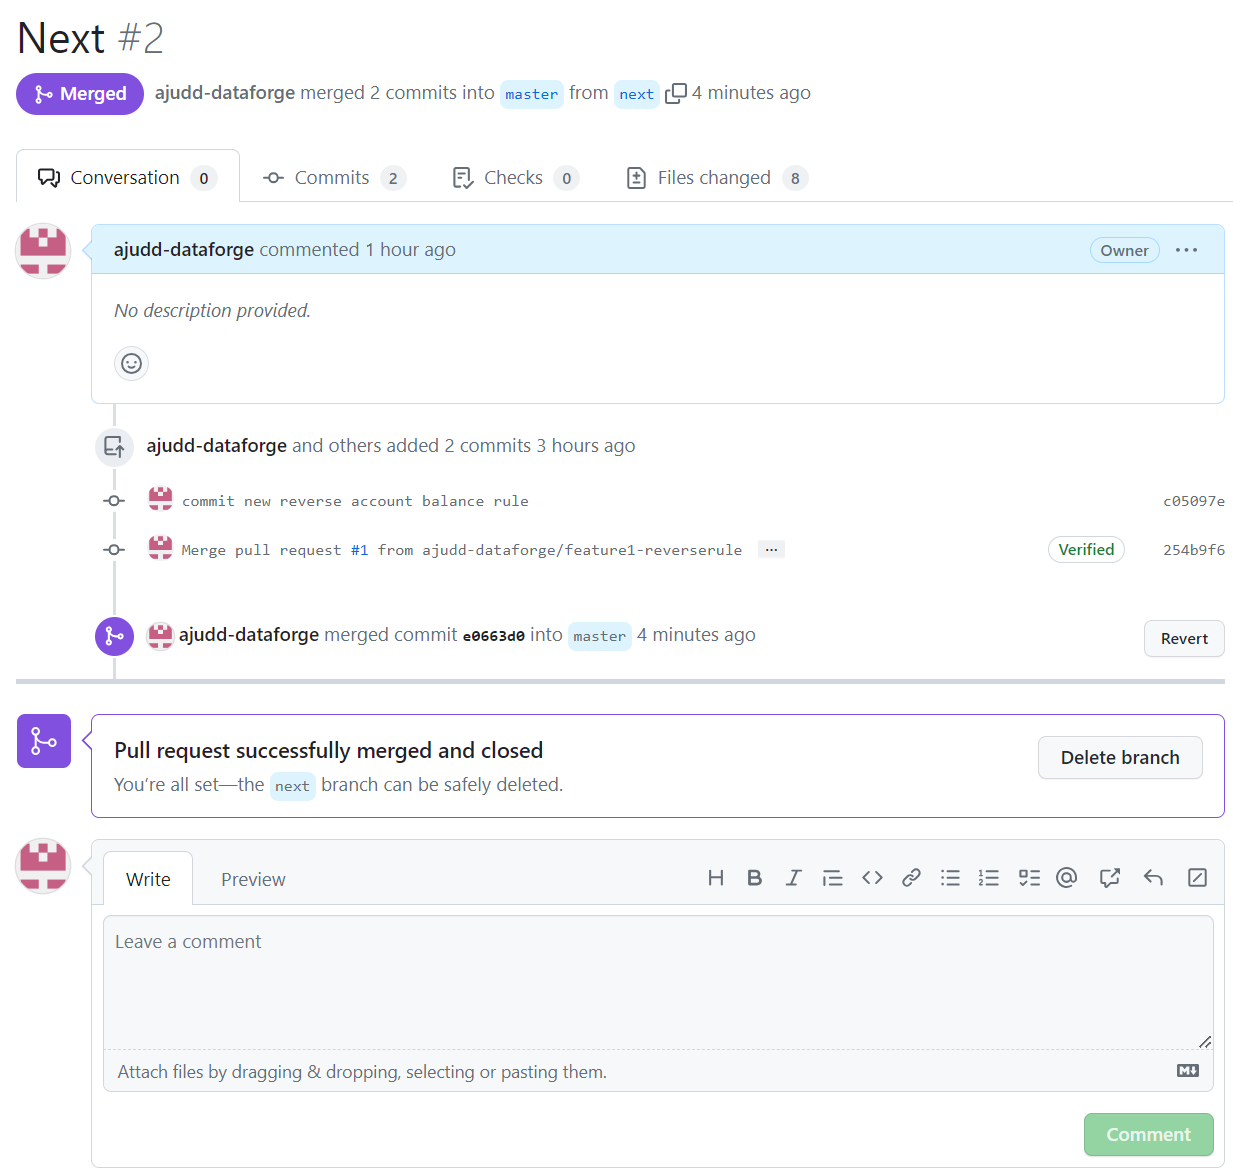
Open the pull request from the Pull Requests tab, review the commits, and select Merge pull request → Confirm merge.
Update Default project in production with configurations from Master
In GitKraken, select the local master branch and Pull to sync with remote.

Check out master, copy the sub-folders into a zip, and import it into the Default Prod project.
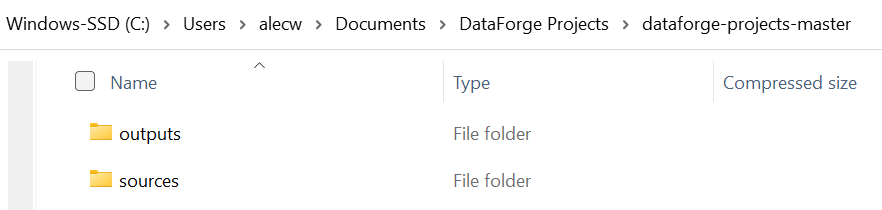

The configuration changes are now live in production.
Repeat cycle for more developer changes
When more changes are needed, repeat the cycle starting with updating developer projects and making changes.
Making a Hotfix Change
Create a Hotfix branch off Master. Import Hotfix branch configurations into a new project in Dev, make changes, export, and commit back to the Hotfix branch. Then open pull requests from Hotfix to Master and from Hotfix back to Next. Once both are approved and merged, import each branch's contents into the appropriate projects.