Setting up DataForge with Snowflake Custom Notebook
Ingestion, Parse, and Post Output can all be configured to run on your custom created notebooks by using the Compute configuration page.
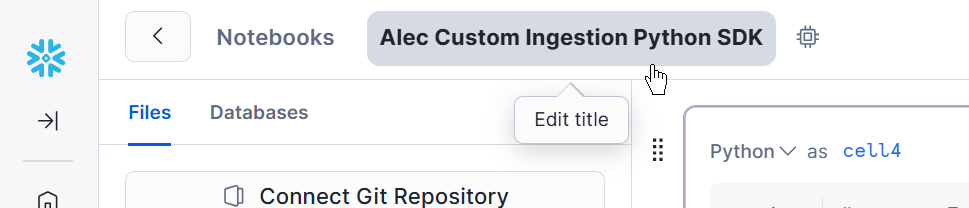
Finding the Notebook Name
In Snowsight, open the notebook and copy its name.
Attaching to a Source for Custom Ingestion
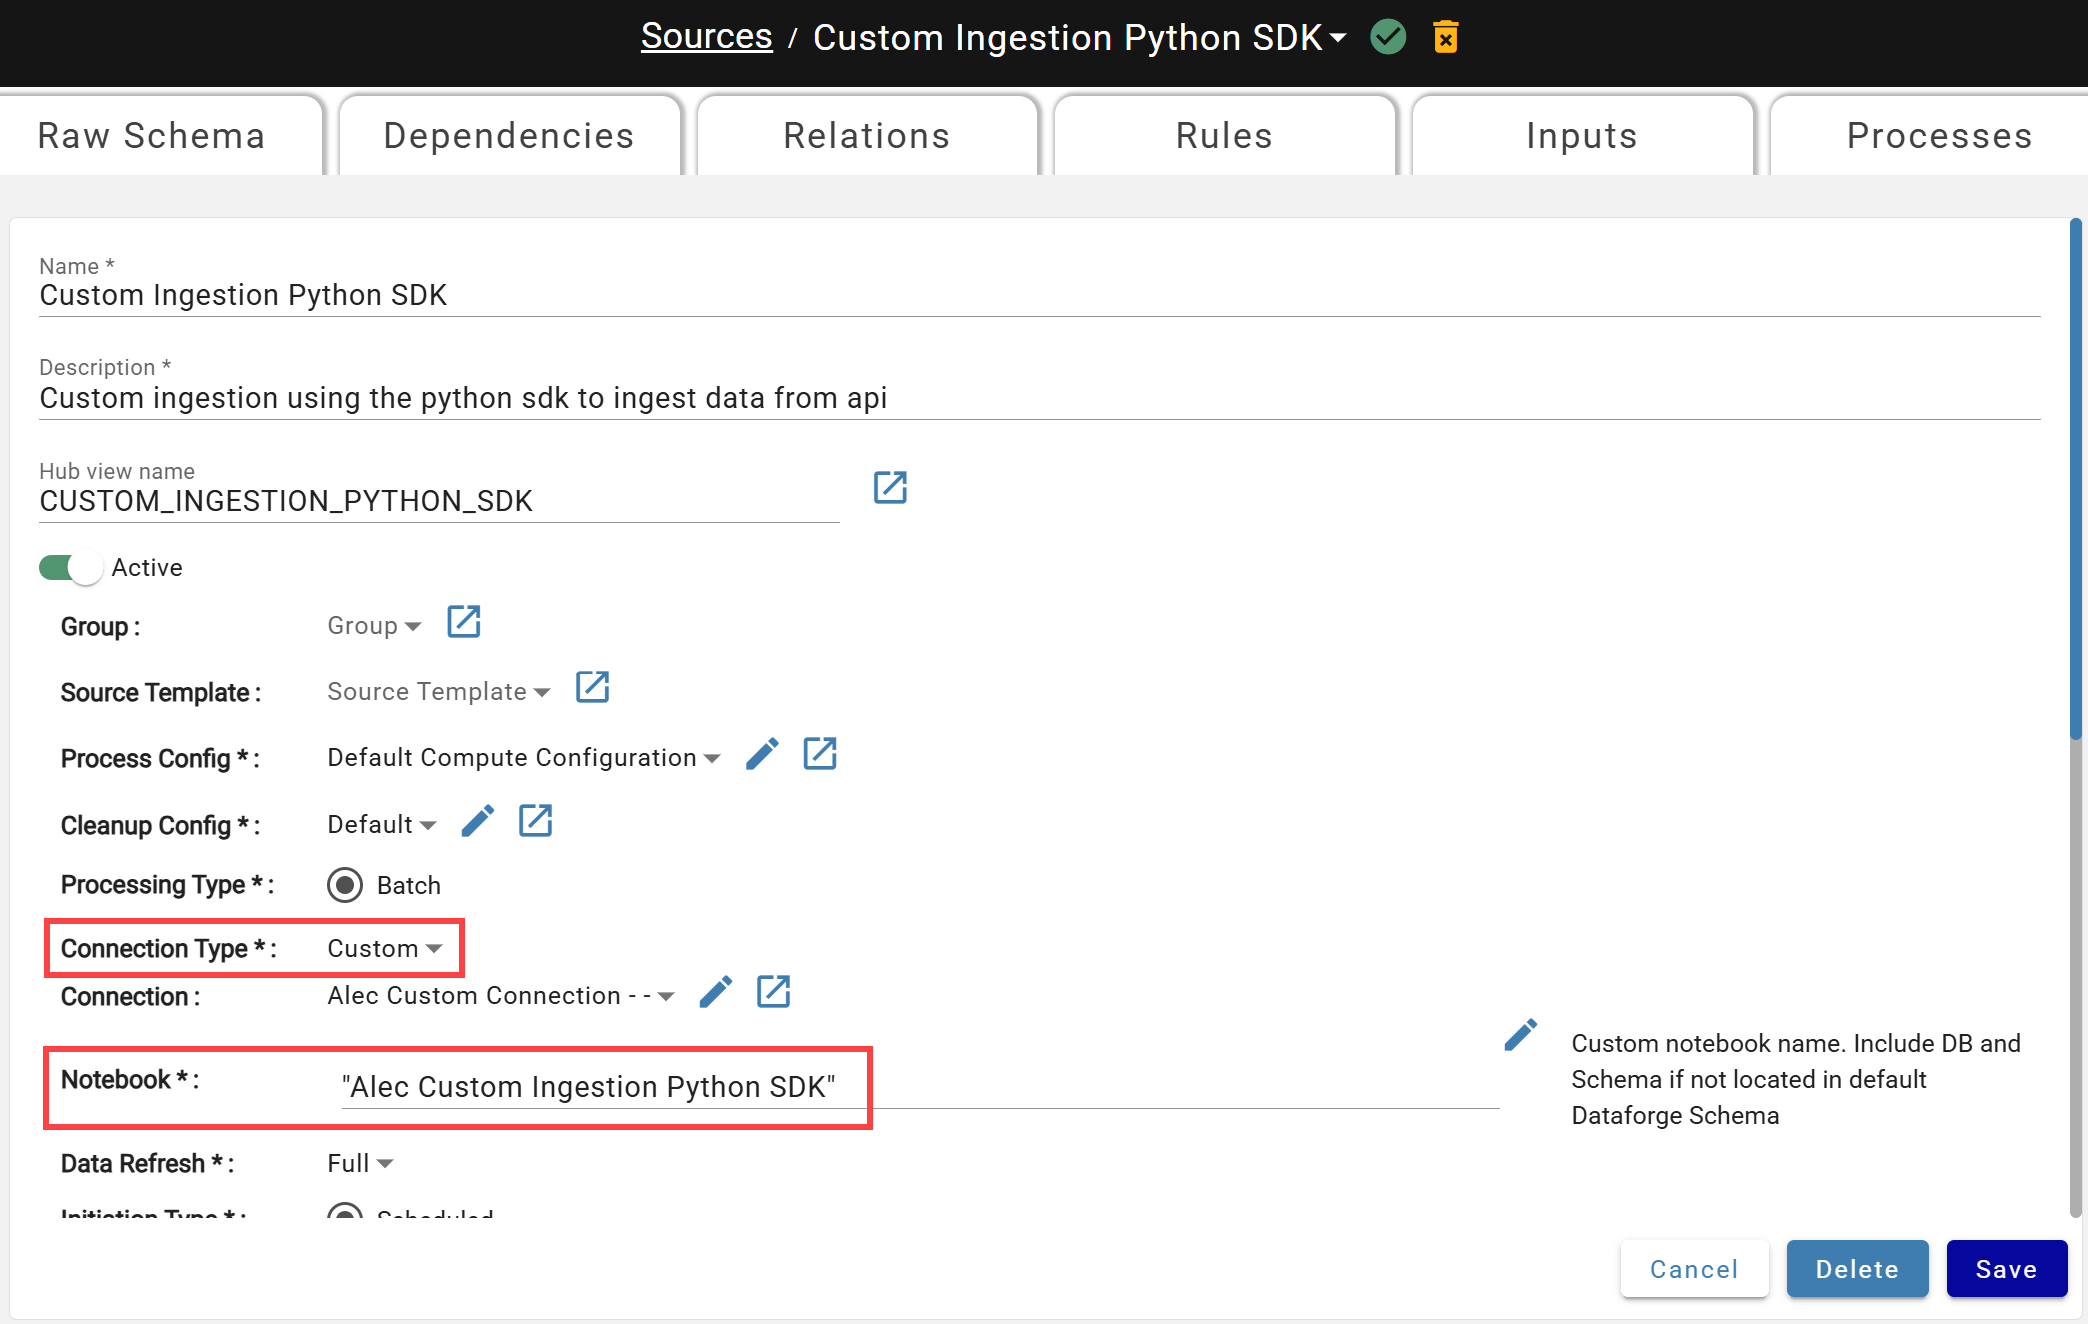
- Navigate to the Source Settings page where the Custom Ingestion will be used, or create a new Source.
- Change the Connection Type to "Custom".
- Locate the "Notebook" setting and paste in your notebook name. If there are spaces in the name, double quote it when pasting.
- Click save.
The Source is now configured to use the specified Notebook when running ingestion processes. Try clicking the Pull Now button or setting a schedule on the Source to pull in data to test your custom code.
Attaching to a Source for Custom Parse
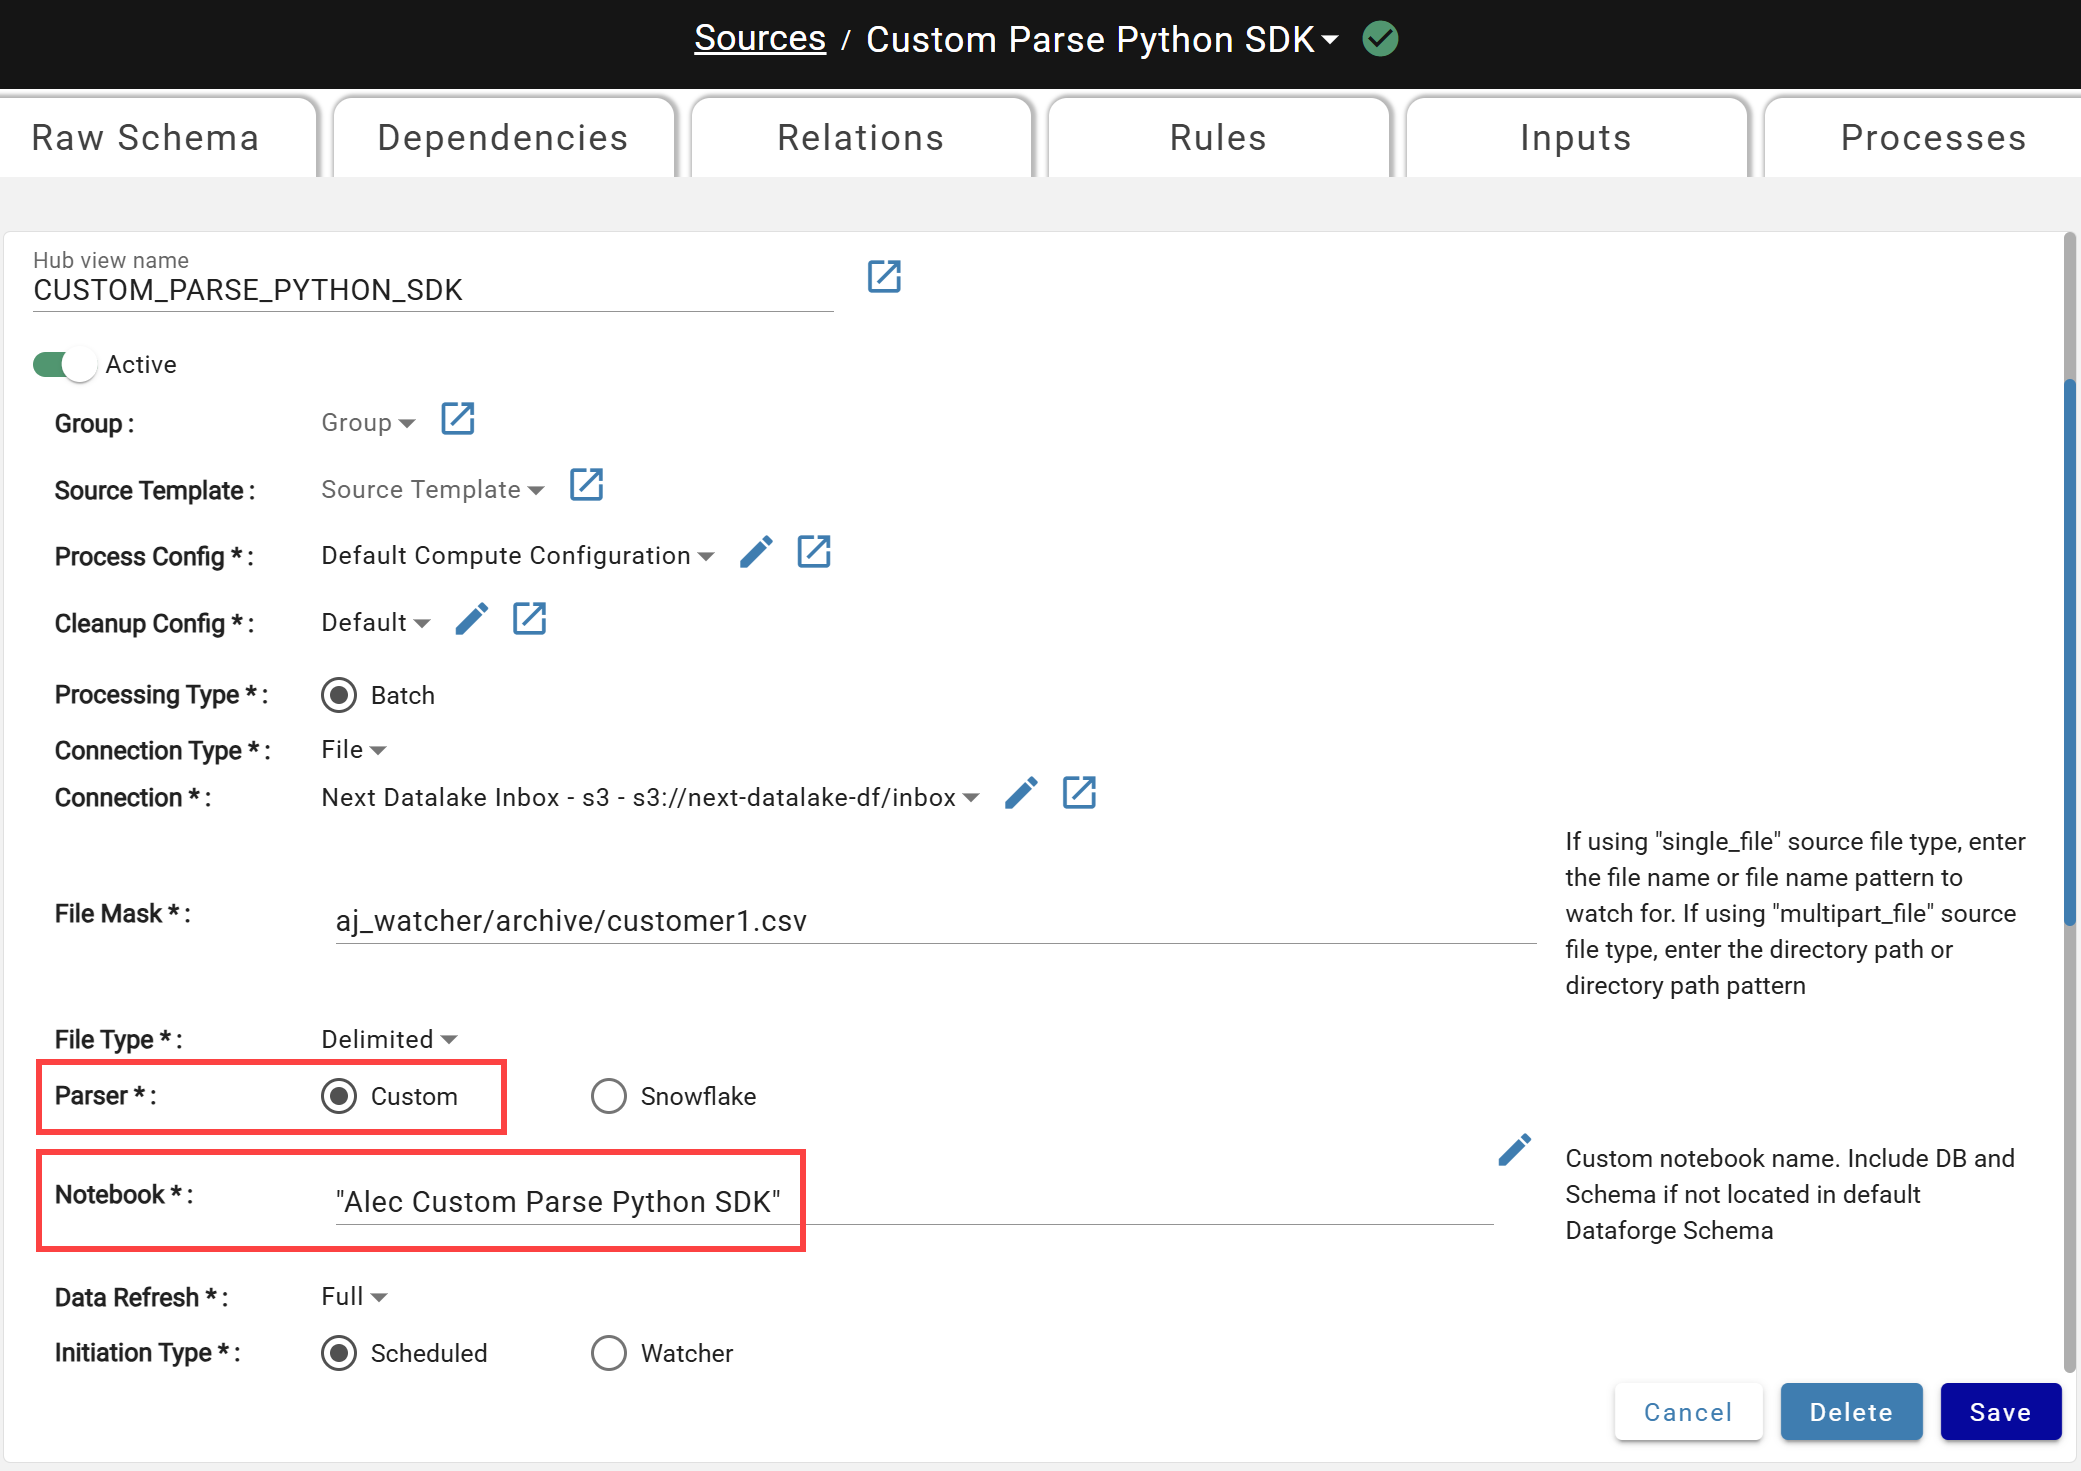
- Navigate to the Source Settings page where the Custom Parse will be used, or create a new Source.
- Change the Connection Type to "File" (custom parse only runs for file based sources)
- Change the Parser option to "Custom"
- Locate the "Notebook" setting and paste in your notebook name. If there are spaces in the name, double quote it when pasting.
- Click save.
The Source is now configured to use the specified Notebook when running parse processes. Try clicking the Pull Now button or resetting parse for an input in your source to test your custom code.
Attaching to an Output for Custom Post Output
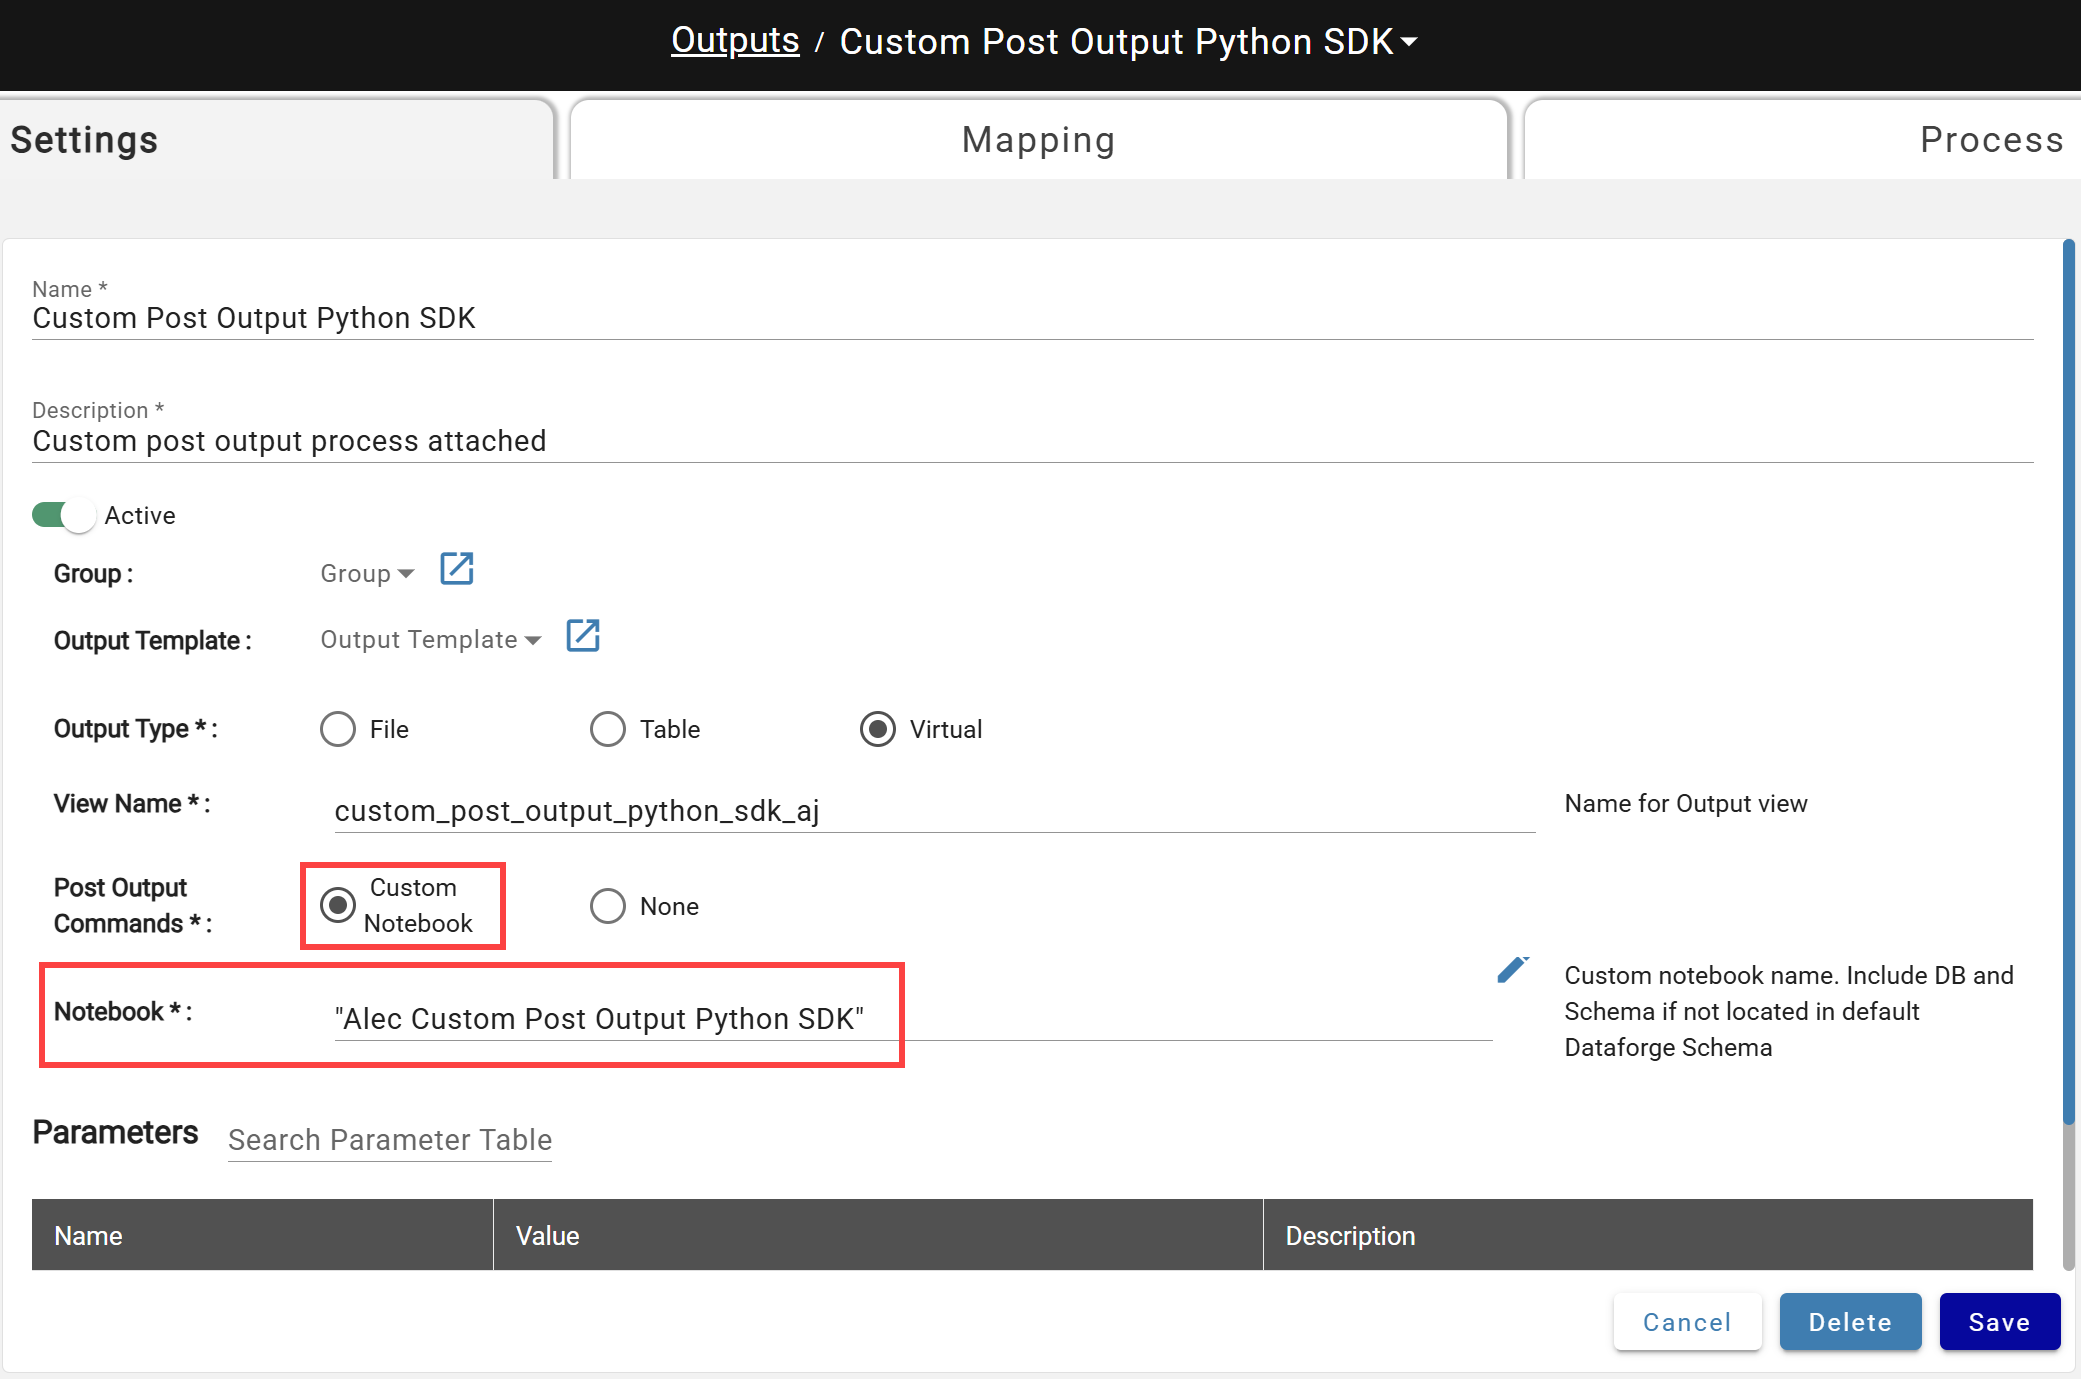
- Navigate to the Output Settings page where the Custom Post Output will be used, or create a new Output.
- Locate the Post Output Commands option and select "Custom Notebook".
- Locate the "Custom Post Output Compute Config" dropdown and select your newly created Compute Configuration.
- Click save.
The Output is now configured to run the specified Notebook after each Output process completes. Try clicking the Reset Output option in the Mapping page, or resetting output for a specific channel to test your custom code.